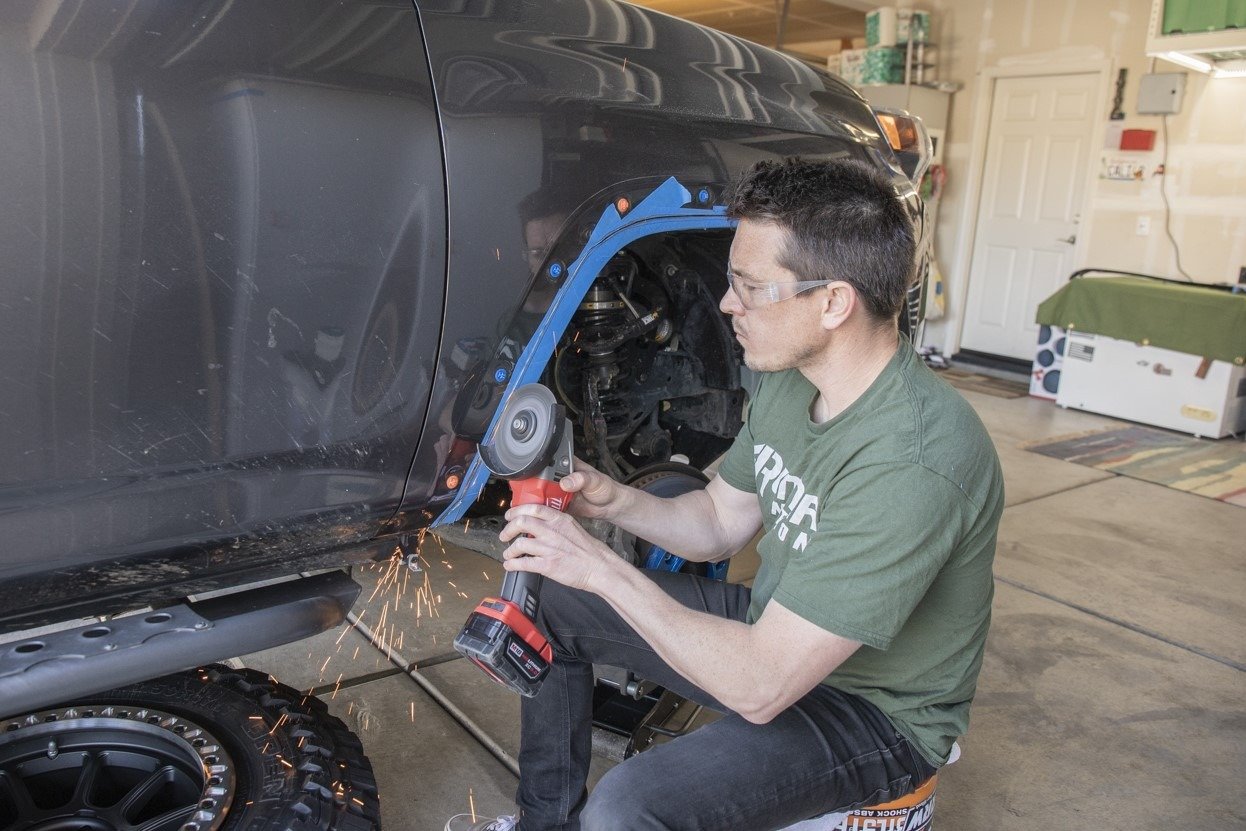
If you’re wondering how to trim truck fenders, you’re in the right place. Fender trimming might sound technical, but it’s quite straightforward. Essentially, it involves modifying your truck’s fender—usually through cutting or reshaping—to create more space around your tires.
Imagine you’ve just upgraded to big, beefy off-road tires and want to fit them on your truck. If your fender is too close to the tire, it might end up rubbing or getting damaged. By trimming the fender, you create the extra space needed, allowing your tires to turn smoothly and tackle rough terrain without any problems.
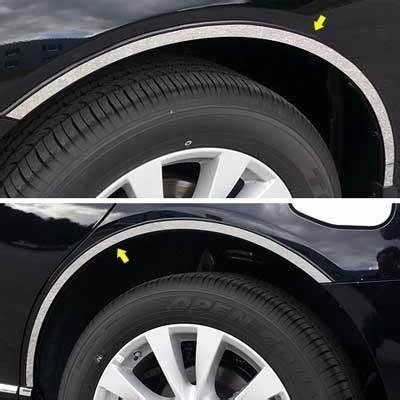
Why Consider Truck Fender Trimming?
So, why would you want to trim your truck fenders? There are a few great reasons:
- Increased Tire Clearance When upgrading to larger tires or gearing up for serious off-roading, trimming is a game-changer. It prevents the tires from rubbing against the fenders, which can lead to wear and damage.
- Enhanced Off-Road Capability For off-road enthusiasts, fender trimming boosts your vehicle’s performance. It allows your truck to handle rugged trails and obstacles more efficiently, without the risk of getting caught or damaged.
- Aesthetic Appeal
Besides functionality, fender trimming can also give your vehicle a cooler, more rugged look. It’s a popular modification for those who want to make their ride stand out.
The Importance of Planning and Execution
Before you grab the tools, careful planning is key. Trimming truck fenders isn’t something you want to rush through. You need to measure carefully, decide how much to trim, and make sure you’re not cutting into any critical parts of your vehicle.
Think of it like cooking a complex recipe. Without proper planning and careful attention to each step, you might end up with a mess. Similarly, when it comes to fender trimming, thorough planning ensures better results and minimizes the chance of mistakes.
Before trimming, it’s crucial to plan carefully. Not sure about a permanent cut? Consider alternatives like unrolling your fenders—a reversible and easier option!
Essential Tools for Trimming Truck Fenders
When it comes to truck fenders trim, having the right tools is essential. Here’s a list of the basic tools you’ll need:
- Cutting Tools
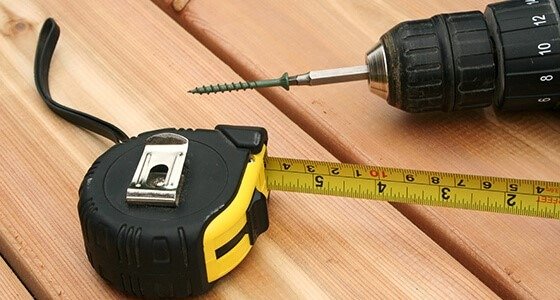
A good pair of metal snips or a jigsaw will help you cut through the fender material. For most DIY projects, metal snips work great for smaller trims, while a jigsaw is handy for more complex cuts. - Measuring Tape and Ruler
Precision is key, so having a reliable measuring tape and a straight ruler will help you mark your cutting lines accurately. - Drill
You might need a drill to make holes for mounting new trim pieces or to secure the fender after trimming.
Rust Prevention and Finishing Supplies
After cutting, it’s important to protect your vehicle from rust and make it look good. Here’s what you’ll need:
- Rust-Proof Primer Start by applying a rust-proof primer to the exposed metal. This step helps prevent corrosion and extends the life of your trim.
- Paint Next, use touch-up paint that matches your vehicle’s color. This will not only protect the metal but also give the trimmed area a polished, finished look.
- Sandpaper Finally, smooth out any rough edges with sandpaper. This ensures a clean and professional finish, making sure there are no sharp points that could cause injuries or affect the vehicle’s appearance.
Preparation for Truck Fender Trim:
Before you can start trimming, you’ll need to take off any parts that might get in the way.
- Remove Existing Trim
Use a screwdriver or trim removal tool to carefully take off any trim pieces. Set them aside; you might need them later if you plan to reinstall them. - Detach Fender Flares
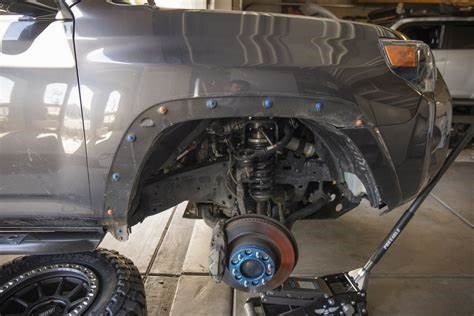
If your vehicle has fender flares, remove them using the appropriate tools. Be gentle to avoid damaging them. - Take Out Inner Fender Liners
The inner fender liners protect the inner parts of your vehicle. Remove these to avoid cutting them accidentally.
Safety Precautions:
Safety is a top priority when working on your vehicle. Here’s how to stay safe:
- Wear Safety Gear Always don safety glasses and gloves to protect yourself from metal shards and sharp edges. This precaution helps avoid injuries during the trimming process.
- Work in a Well-Ventilated Area Ensure you’re working in a space with good airflow, especially if you’re sanding or using chemicals. Proper ventilation helps keep harmful dust and fumes at bay.
- Be Cautious with Tools Handle all tools with care. If you’re using power tools, follow the manufacturer’s instructions closely to avoid accidents and ensure effective operation.
Legal and Regulatory Considerations
Different areas have different rules about vehicle modifications, so it’s important to be aware of local regulations.
- Check Local Laws First, it’s crucial to review the regulations in your area regarding fender trimming. Different locations have specific rules about the extent of trimming and allowed modifications. Ensuring you comply with these guidelines helps avoid legal issues and keeps your vehicle roadworthy.
- Consider Insurance Implications Additionally, trimming your fenders might impact your vehicle’s insurance coverage. It’s a good idea to check with your insurance provider to understand any potential implications. This way, you’ll know if any adjustments to your policy are needed to ensure you remain covered.

Trimming Process for Truck Fenders:
Once you’re prepped and ready, it’s time to dive into the trim truck fenders. Here’s a step-by-step guide to help you through:
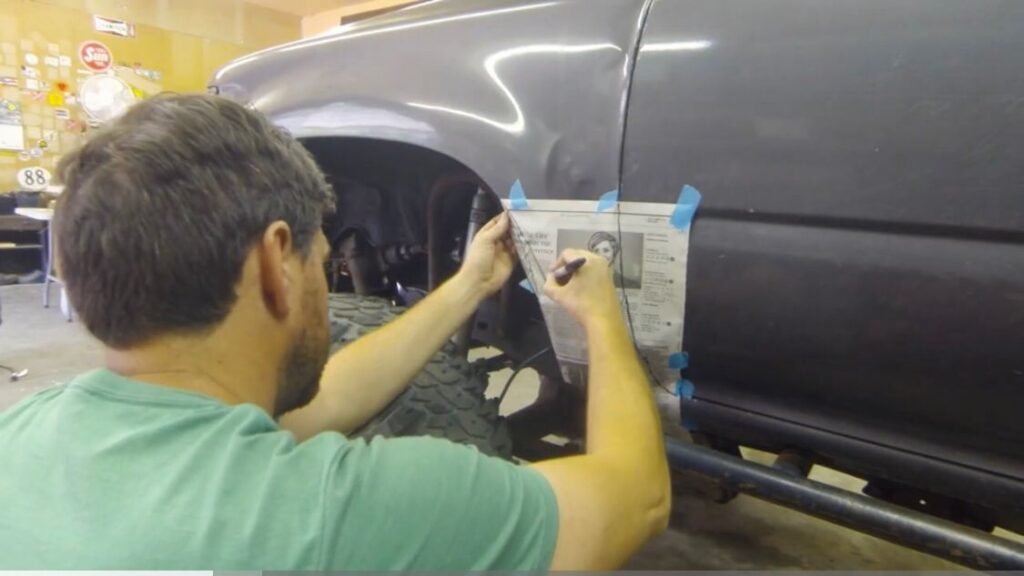
- Double-Check Your Markings
Before you start cutting, take a moment to review the lines you’ve marked. Make sure they’re accurate and where you want them. - Secure the Vehicle
Ensure the vehicle is stable. Use wheel chocks or jack stands to keep it from moving while you work.
Making the Cut
Now it’s time to trim! Follow these steps for a clean cut:
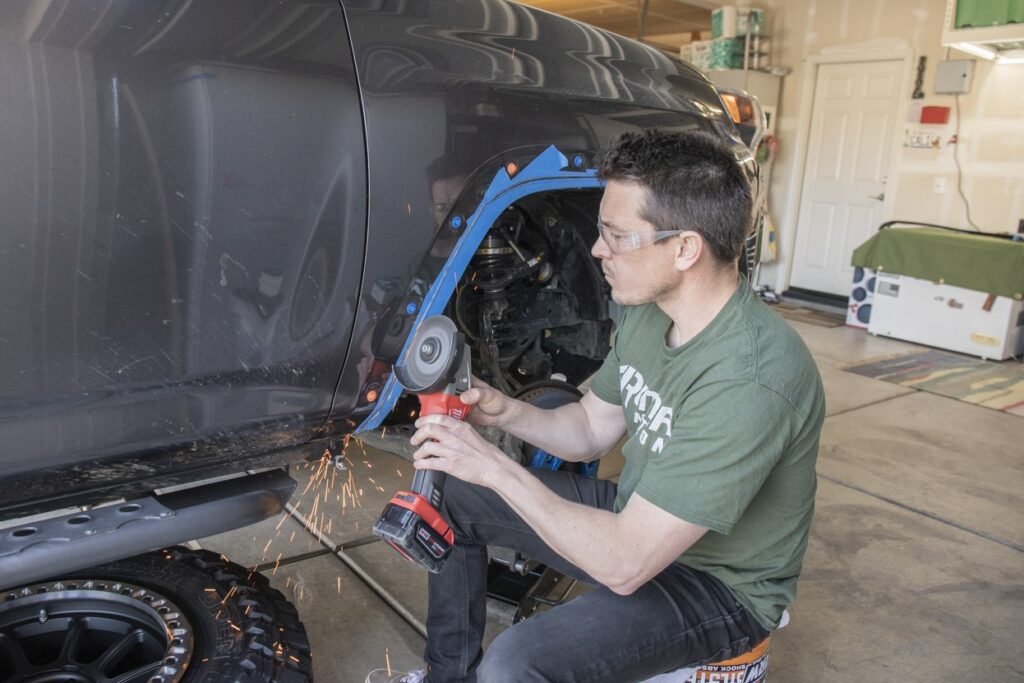
- Start Cutting Slowly
Begin cutting along your marked line using the chosen tool. Take your time to make precise cuts. Rushing can lead to mistakes. - Maintain Steady Pressure
Whether you’re using metal snips or a jigsaw, apply steady pressure. Avoid forcing the tool, as this can cause uneven cuts.
Checking Clearance
As you trim, it’s crucial to check the clearance frequently:
- Test Fit the Tire Periodically place the tire back into position to check that it fits correctly and doesn’t rub against the fender.
- Adjust as Needed If you detect any rubbing or interference, trim a little more and test fit again. It’s wiser to trim gradually rather than cutting too much at once.
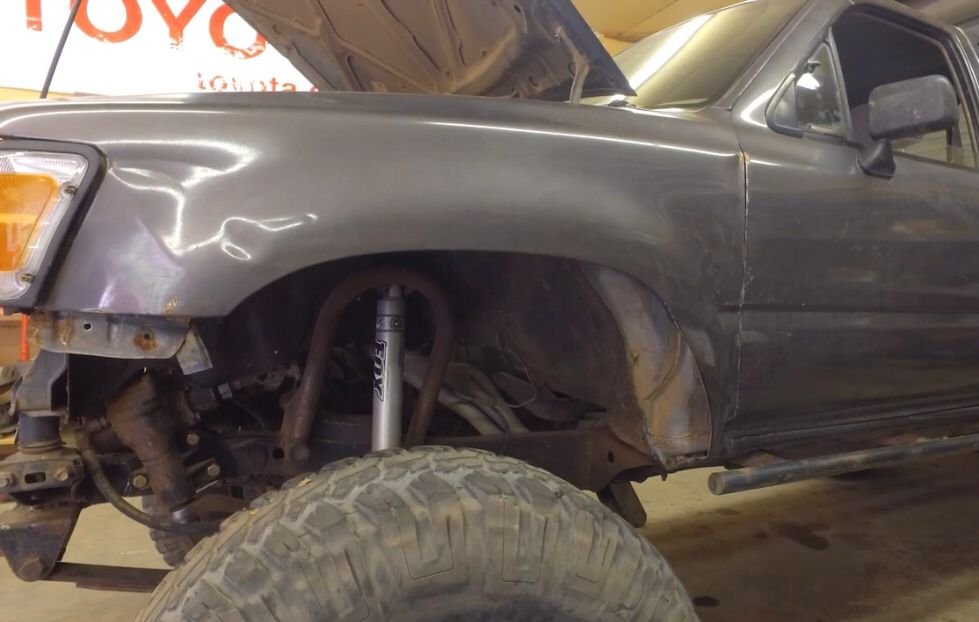
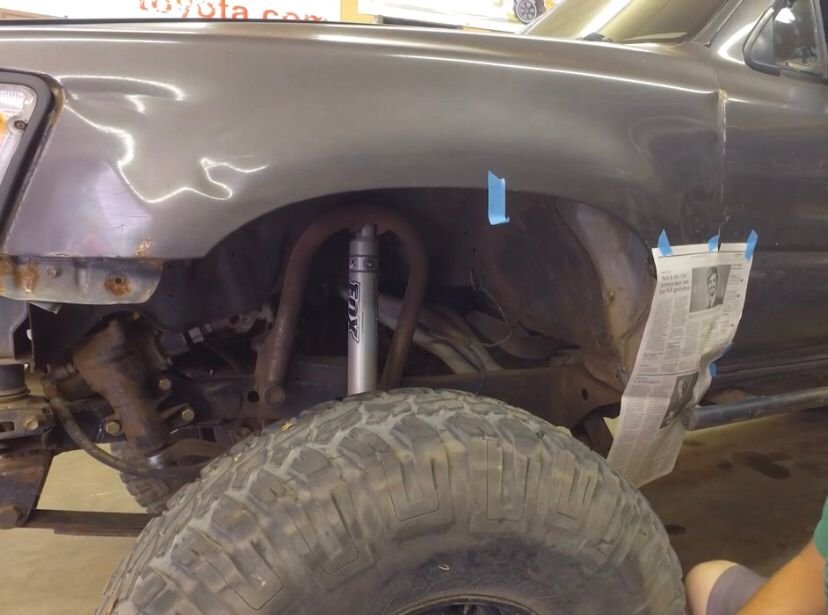
Image showing a tire being test-fitted in the trimmed fender area
Finishing Truck Fender Trim:
- Smoothing and Deburring Cut Edges
- Once you’ve completed the truck fenders trim, the next step is to smooth out any rough or sharp edges. Using a metal file or sandpaper, carefully address these edges to ensure they’re smooth. Additionally, take the time to check for any sharp points. This extra step not only prevents injuries but also gives the trimmed area a polished and professional appearance.
- Rust Prevention and Finishing Techniques
Apply rust-proof primer to the exposed metal, then paint the area to match your vehicle’s color. For added protection, consider sealing the edges to keep out moisture and prevent rust
Here’s a full Step-by-Step tutorial on how to trim fenders:
Reinstalling Trim or Flares
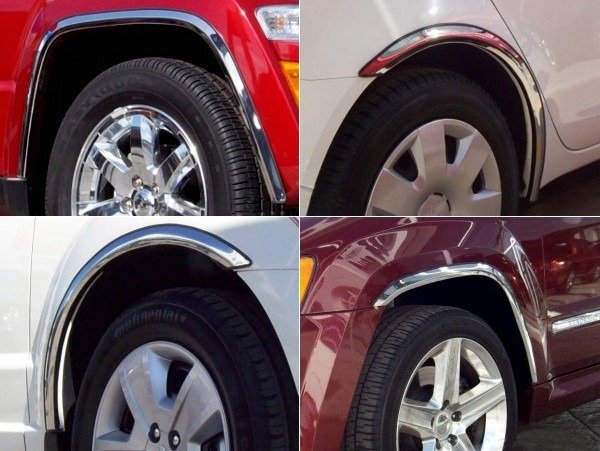
If you’ve removed any trim or fender flares, you’ll need to put them back or install new ones.
- Reattach Original Trim If you’re reattaching the original trim, take your time to align it precisely. Use the correct screws or clips to secure it firmly in place.
- Install New Flares If you’ve chosen new fender flares, carefully follow the manufacturer’s installation instructions. Ensure they are securely fastened and properly aligned for the best fit and appearance.
Impact on Vehicle Value and Resale
Finally, consider how fender trimming might affect your vehicle’s value.
- Aesthetic Improvements
A well-executed fender trim can significantly enhance your vehicle’s appearance, adding a sleek, customized look that may attract more attention from potential buyers. This stylish upgrade can make your vehicle stand out and reflect your personal taste. - Potential Resale Considerations
However, keep in mind that modifications can also impact your vehicle’s resale value. The effect depends on factors like the buyer’s preferences and the quality of the work done. While some buyers might appreciate the upgraded look, others may prefer a more original vehicle.
Additional Key Points to Know:
Before diving into whether to do it yourself or hire a professional, it’s crucial to weigh your options carefully. Each approach has its pros and cons, and understanding them can help you make the best decision for your needs.
DIY vs. Professional Trimming
Deciding whether to tackle fender trimming yourself or hire a professional depends on your skills and the complexity of the job.
- DIY Advantages Taking on the project yourself can not only save you money but also give you a rewarding sense of accomplishment. Additionally, it lets you tailor the process exactly to your preferences, making the end result uniquely yours.
- Professional Benefits On the other hand, professionals bring both experience and specialized tools to the table, ensuring a high-quality finish. If you’re uncertain about your skills or prefer a more polished outcome, opting for a professional can provide peace of mind and often deliver superior results.
- Cost Considerations Weigh the costs of DIY versus professional services. DIY might save money on labor, but you might need to invest in tools and materials. Hiring a pro will cost more but can save you time and potential errors.
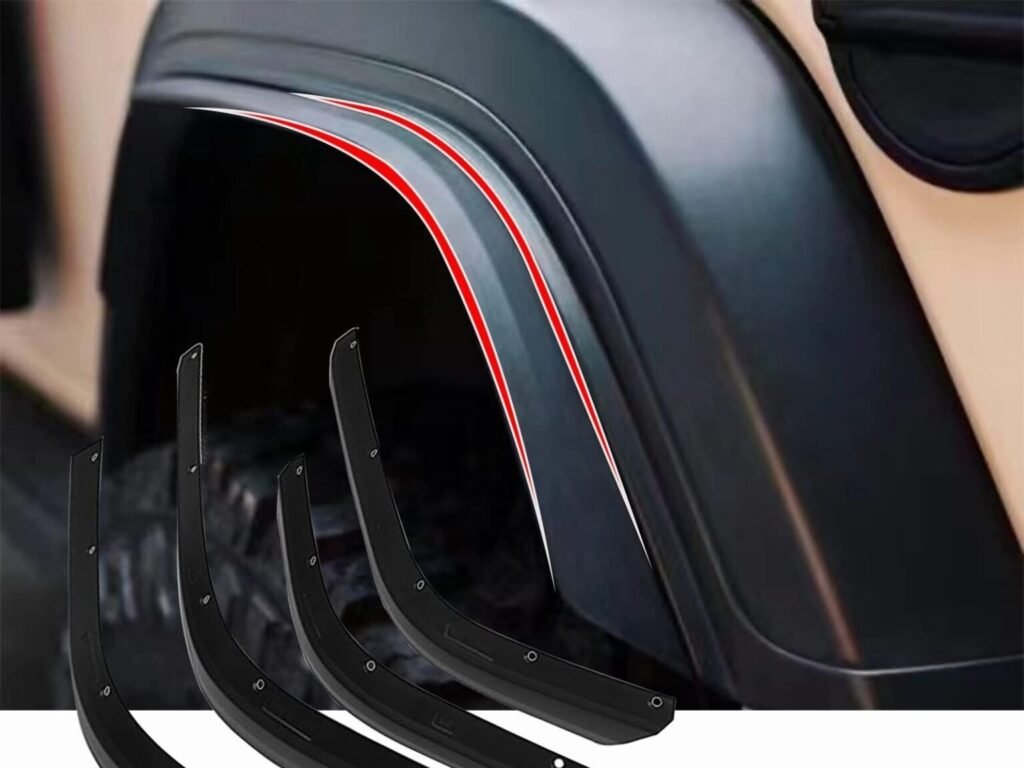
Cutting Fender Flares:
If you’re considering cutting fender flares, here are a few important points:
- Cutting Flares Is Possible
Yes, you can cut fender flares, but it requires precision. Ensure you’re comfortable with the tools and techniques before starting. - Consider the Impact
Cutting fender flares might affect their structural integrity and functionality. It’s essential to ensure they’re still effective in protecting your vehicle and tires.
Comparing Truck Fender Rolling and Trimming
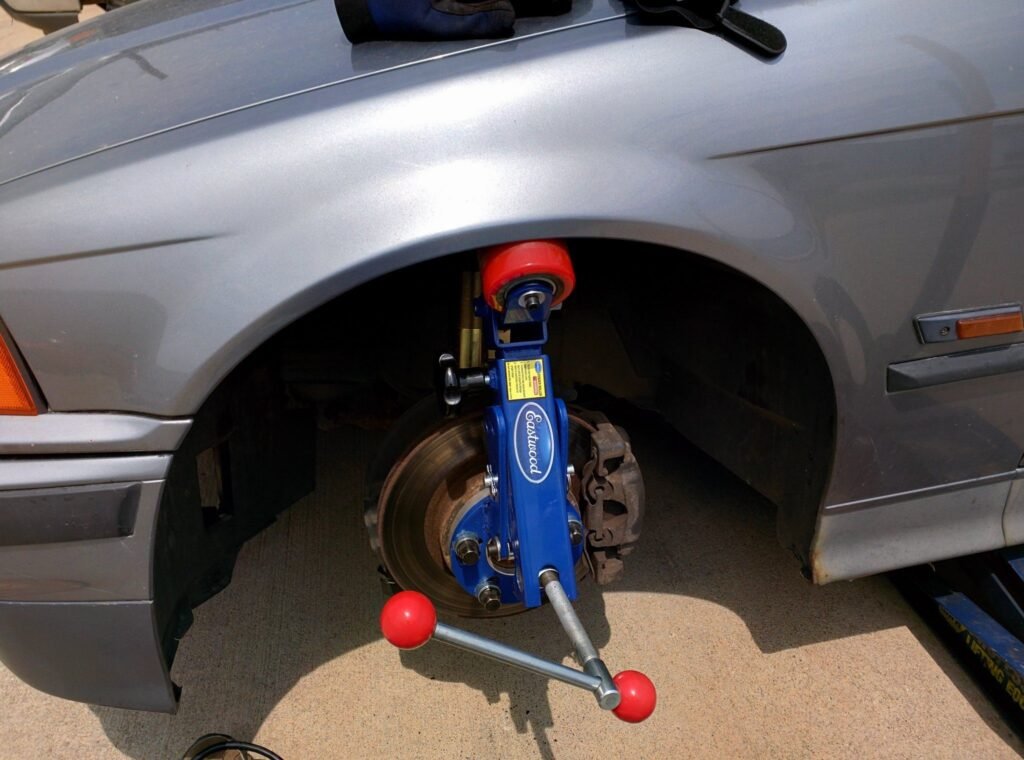
Fender rolling is an alternative to trimming that might be worth considering.
- What Is Fender Rolling?
Fender rolling involves bending the inner edge of the fender upward instead of cutting it. This can create extra clearance without altering the fender’s appearance. - When to Choose Rolling
If you want to avoid cutting but still need more clearance, fender rolling might be a suitable option. It’s less invasive and preserves the original fender shape.

Addressing Rust and Fenders
Rust can be a concern, especially after modifications. Here’s how to handle it:
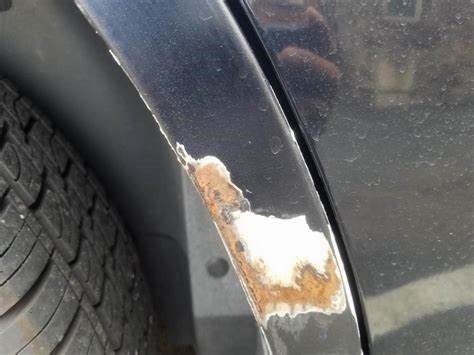
- Why Do Fenders Rust?
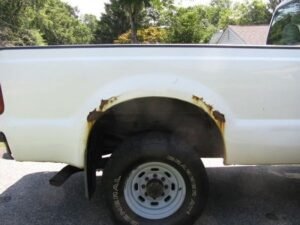
Exposure to moisture and road salt can lead to rust. Proper finishing and rust prevention are essential to minimize this risk. - Preventing Rust
Apply rust-proof primer and paint to protect exposed metal. Regular maintenance and inspections can also help catch any potential issues early.
Do You Really Need Fenders?
Finally, consider whether you need to keep or replace your fenders.
- Legal and Safety Requirements
In some areas, having fenders is a legal requirement. They also play a role in vehicle safety by preventing debris from hitting other vehicles. - Assessing Your Needs
If you’re unsure whether to keep or modify your fenders, think about your vehicle’s use and local regulations. It’s essential to make choices that align with both legal requirements and personal preferences.
Conclusion
You’ve successfully completed your fender trimming project, can now enjoy the benefits of improved tire clearance and a more rugged look for your vehicle. As you move forward, remember to prioritize safety and stay compliant with local regulations. Each project not only enhances your vehicle’s performance but also helps you build valuable skills. Here’s to many more rewarding and successful upgrades ahead!
FAQs:
Is It Legal to Trim Truck Fenders?
Yes, trimming truck fenders is generally legal, but it’s essential to follow local regulations. Different areas have specific rules regarding vehicle modifications, so it’s a good idea to check with local authorities or consult your vehicle’s manufacturer to ensure your modifications won’t affect your vehicle’s registration or compliance.
Can I trim Fender Flares?
Yes, trimming fender flares is possible, but you should proceed with caution. Trimming can affect the flare’s functionality and appearance, so only trim what’s necessary. If you’re unsure or uncomfortable doing it yourself, seeking professional assistance might be the best option.
What Do Fenders and Flares Do?
Fenders and fender flares play both functional and aesthetic roles. They protect your vehicle from debris and help keep dirt and water from being thrown onto other vehicles. Additionally, fender flares can enhance your vehicle’s look, giving it a more rugged or sporty appearance.
How Do I Paint or Install Fender Flares?
To paint fenders flares, start by cleaning and sanding them to ensure the paint sticks well. Apply a primer coat, followed by your desired color, and finish with a clear coat to protect the paint. For installation, follow the manufacturer’s instructions carefully to ensure a secure and proper fit.
Why Use Fender Flares?
Fender flares are used to provide extra clearance for larger tires and prevent debris from being thrown onto the road. They also add a distinctive look to your vehicle, enhancing its overall appearance. Whether for practicality or style, they can be a great addition.
What’s the Difference Between Fender Rolling and Trimming?
Fender rolling and trimming serve similar purposes but are different processes. Fender rolling involves bending the inner lip of the fender upward to create additional clearance, which is less invasive than trimming. Trimming involves cutting away part of the fender to make room for larger tires. Rolling is often preferred if you want to avoid cutting your vehicle.
Why do truck fenders rust, and how can I prevent it?
Rust on truck fenders often stems from exposure to moisture, road salt, and other corrosive elements. To combat this, it’s crucial to regularly clean your vehicle to remove debris that can accelerate rust. Additionally, applying a rust-proof primer can provide a protective barrier against corrosion. Ensure the fender area is well sealed to keep moisture out. Finally, address any scratches or chips in the paint as soon as possible to prevent rust from taking hold.
Do I Really Need Fenders?
Fenders are crucial for protecting your vehicle and other road users from debris. They help keep your vehicle clean and reduce the risk of accidents caused by flying debris. In many places, properly functioning fenders are also a legal requirement to ensure road safety.
How do I handle unexpected challenges during trimming?
If you encounter issues like unexpected rust or complications with your vehicle’s components, take a step back and reassess your approach. Use troubleshooting tips, such as checking your tools, ensuring accurate markings, or consulting professional advice if needed. It’s better to address issues early rather than rushing through them.
Can I DIY Fender Trimming, or Should I Hire a Professional?
While DIY fender trimming can be rewarding, it requires careful planning and skill. If you’re comfortable with the process and have the right tools, you can certainly do it yourself. However, if you’re unsure or lack the necessary tools and experience, hiring a professional might be a safer and more effective option.
What Are the Best Tools for Fender Trimming?
For fender trimming, tools like metal snips, a jigsaw, and a metal file are commonly used. Metal snips are great for straight cuts, while a jigsaw is ideal for curves. Ensure you use high-quality tools suited for the job to achieve the best results.
How Can I Ensure a Professional Finish?
To achieve a professional finish, focus on precision during the cutting process, smooth out any rough edges, and apply rust-proof primer and paint carefully. Taking the time to ensure every step is done correctly will result in a clean and polished look.

