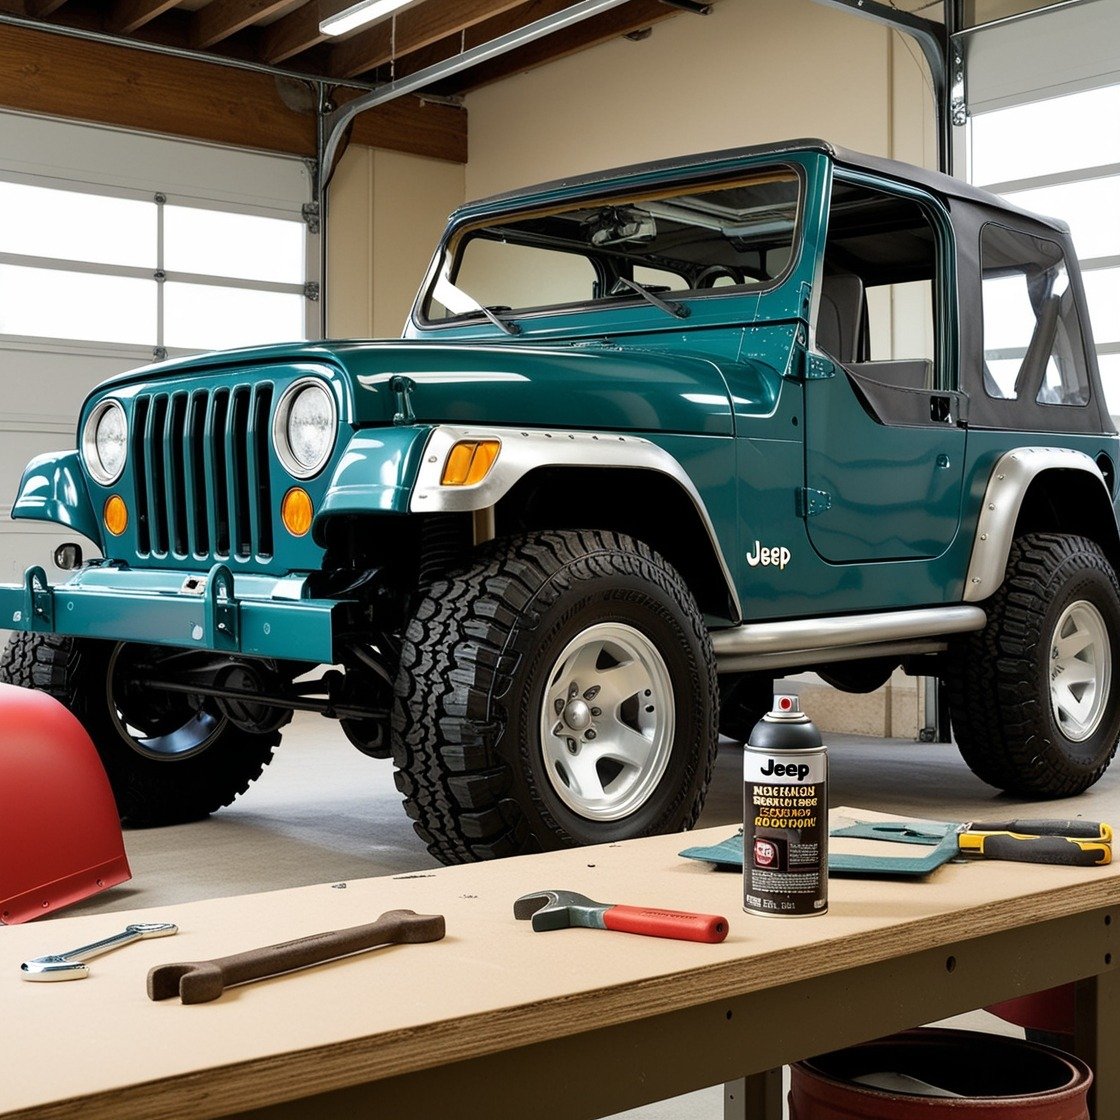
Jeep fenders aren’t just about style—they protect your vehicle from the elements and off-road debris. Over time, they can fade and wear out, leaving you wondering how to restore Jeep fenders to their original state. Thankfully, with the right approach, you can easily revive them and keep your Jeep looking rugged and fresh.
Restoring your Jeep fenders is not only possible, but it’s also a great way to breathe new life into your vehicle. Whether your fenders are made of metal, plastic, or composite material, the right tools and techniques can bring them back to their original shine.
This guide will walk you through the steps needed to get your fenders looking fresh and ready for your next adventure.
1. Common Signs Your Jeep Fenders Need Restoration
Jeep fenders can face a variety of issues over time. However, the most common problem is fading, usually caused by prolonged exposure to sunlight. In fact, the sun’s UV rays can bleach the color out of the fenders, leaving them looking washed out and dull.
In addition to fading, you might also notice scratches, scuffs, or even cracks—especially if your Jeep has seen a lot of off-road action.
Another issue is the build-up of grime and dirt. If left unchecked, this can cause discoloration and make the fenders look old and worn. The good news is, all these issues can be addressed with a thorough restoration.
2. Key materials and tools for a successful restoration
Before you dive into restoring your Jeep’s fenders, it’s crucial to gather all the necessary materials and tools. Having everything on hand will make the process smoother and ensure that you’re fully prepared to tackle any challenges that come your way.
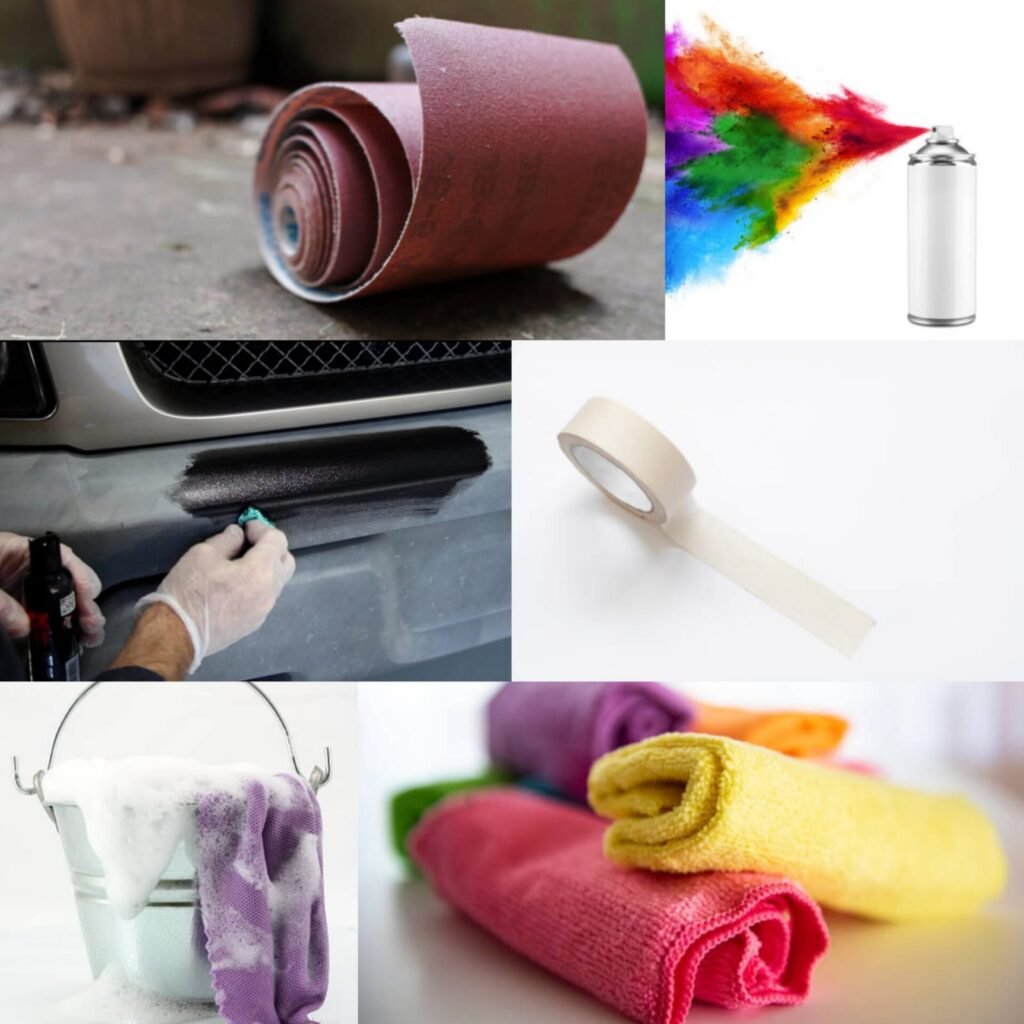
Must-Have Materials for a Flawless Finish
To achieve a lasting restoration, preparation is key. Having the right materials on hand not only saves time but also ensures the best outcome for your Jeep fenders. Let’s take a look at the essentials you will need.
- Soap and Water:
Start with the basics. You’ll need soap and water to give your fenders a good clean before doing anything else. This step removes dirt and grime that could interfere with the restoration process.
- Automotive Cleaner:
After washing, an automotive cleaner will help to get rid of any stubborn grease or residue. This is important because a clean surface allows the restoration products to adhere better.
- Plastic Trim Restorer
This is your secret weapon against fading. A quality plastic trim restorer will bring back the rich, deep color of your fenders, making them look brand new.
- UV Protectant Spray
To protect your hard work, you will want a UV protectant spray. This helps shield your fenders from the sun’s harmful rays, thus preventing future fading.
- Sandpaper (Various Grits)
Depending on the condition of your fenders, you might need sandpaper to smooth out any scratches or rough spots. Therefore, make sure to have a variety of grits on hand for different levels of damage.
- Masking Tape
Use masking tape to protect areas around the fenders that you don’t want to get product on, such as your Jeep’s paint or other trim pieces.
- Microfiber Cloths
Microfiber cloths are perfect for applying products and buffing your fenders to a high shine without leaving any scratches.
- Plastic Primer
If you’re dealing with severe fading or scratches, a plastic primer can help the restoration products bond better to the surface of your fenders.
- Spray Paint (Matching Your Jeep’s Colour)
For those who want to go the extra mile, spray paint can be used to touch up areas where the colour has faded significantly. Be sure to match it to your Jeep’s original colour.
- Clear Coat Spray
A clear coat spray will give your fenders a glossy, protective finish after restoration.

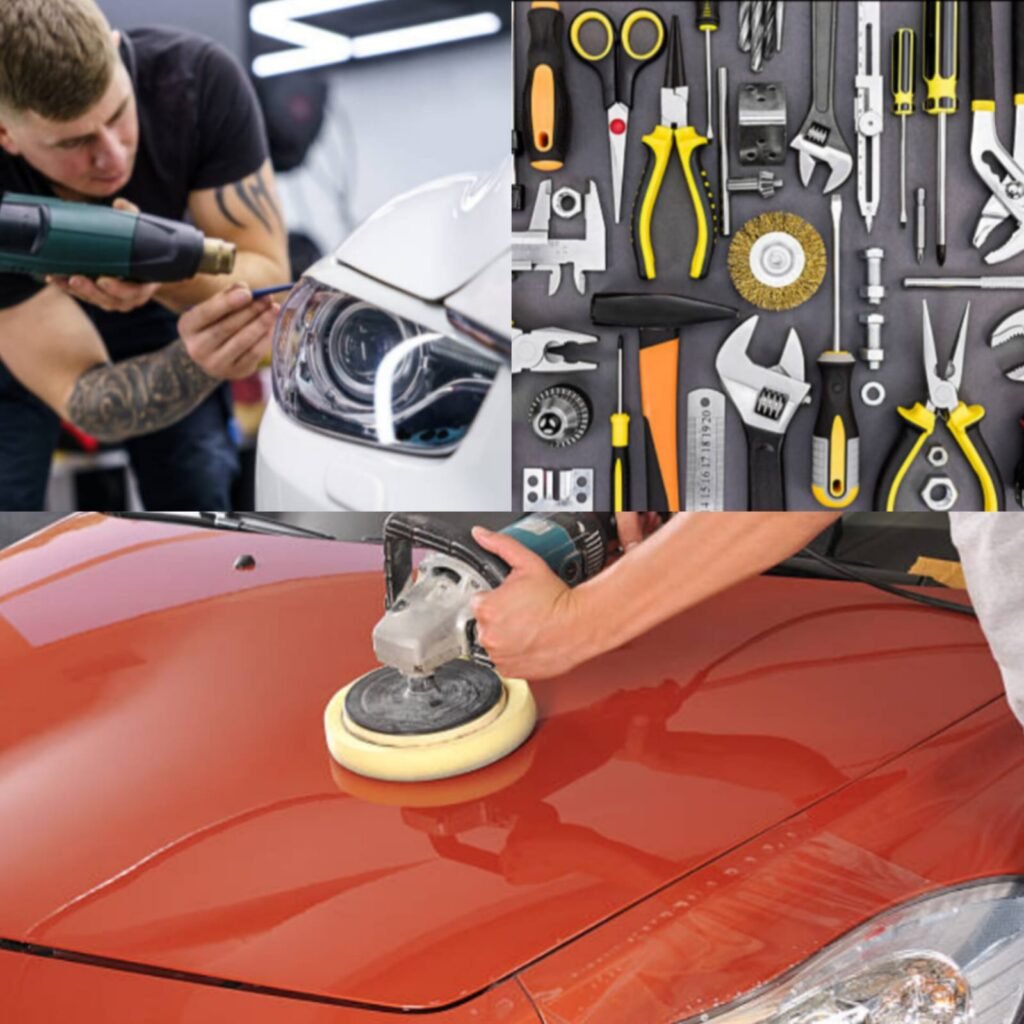
Essential Tools to Make the Job Easier
Equipping yourself with the proper tools is crucial for a smooth and successful restoration. These essential tools not only simplify the process but also help you achieve results that will last.
- Heat Gun
A heat gun is useful for softening any stubborn residue or for evening out plastic surfaces. It’s especially handy if your fenders have deep scratches or need some reshaping.
- Buffer:
For a professional-looking finish, a buffer can help polish the fenders after you’ve applied the restorer. As a result, it gives the surface a smooth, glossy appearance.
- Applicator Pads:
Next, consider using applicator pads. These are perfect for applying products like trim restorer or UV protectant. Consequently, they ensure even coverage and help avoid streaks.
- Screwdriver Set:
Finally, in some cases, you might need to remove the fenders for a more thorough restoration. Therefore, having a good screwdriver set will make this process easier.

3. Steps to Ensure Your Restoration Process is Flawless
Restoring your Jeep fenders to their original glory involves more than just slapping on a fresh coat of paint. It’s a process that requires careful preparation, thoughtful product selection, and proper application techniques.
Each step builds on the last, ensuring that your fenders not only look great but also stand the test of time. Below, we’ll walk you through the essential steps—so you can achieve professional-quality results right in your own garage.
Let’s dive into the details and ensure your Jeep’s fenders look their best for years to come.
Step 1: Cleaning and Preparing the Fenders
Before diving into the actual restoration process, it’s crucial to start with a clean slate. Properly cleaning and preparing your Jeep’s fenders is the foundation for a successful restoration. Think of it as the first step in a makeover—without a thorough clean, even the best products won’t give you the results you’re hoping for.
- Simple Steps to Clean Your Fenders Well:
With a few simple steps, you can quickly remove dirt, grime, and grease, ensuring your fenders are clean and ready for restoration. Let’s get started on making them spotless.
- Start with a Simple Wash: Begin by giving your fenders a good wash with soap and water. Use a mild automotive soap that’s gentle on your Jeep’s finish but tough on dirt. Make sure to rinse thoroughly to remove all soap residue.
- Focus on Stubborn Spots: For those areas with caked-on mud or grime, you might need to put in a little extra elbow grease. Use a soft brush or sponge to gently scrub these spots. However, avoid using anything too abrasive, as it could scratch the fenders.
- Degrease for a Fresh Start: After washing, it’s time to tackle any lingering grease or oil spots. An automotive cleaner or degreaser is perfect for this job. Spray it on the affected areas and let it sit for a few minutes before wiping it off with a microfiber cloth.
2. Inspecting the Fenders for Damage
After cleaning your fenders, it’s crucial to inspect them for any damage such as scratches, cracks, or areas where the colour has faded. Identifying these issues early will help you determine the right approach for restoration.
Minor scratches can often be sanded down, while deeper ones might require fillers or primers. Faded spots, common in older Jeeps, can usually be revived with a good trim restorer.
Understanding the extent of the damage will guide you in selecting the appropriate products and techniques to bring your fenders back to life.
3. Drying the Fenders Completely
Before moving on to the restoration phase, make sure the fenders are completely dry. Any moisture left on the surface can interfere with the application of restoration products, leading to streaks or uneven coloring.
Use a clean, dry microfiber cloth to wipe down the fenders, and allow them to air dry for a bit if needed.
Step 2: Choosing and Applying the Right Restoration Product
Now that your Jeep fenders are spotless and ready for action, it’s time to move on to the heart of the restoration process. This step is crucial because the product you pick will determine how well your fenders are restored and how long they’ll stay looking great.
- Picking the Perfect Product
Not all restoration products are created equal. Depending on the condition of your fenders you will need to choose the right product to get the best results.
- Trim Restorer: Ideal for faded but not heavily scratched fenders, trim restorers bring back vibrant color and long-lasting protection.
- Plastic Dye: For severe fading, plastic dye penetrates deeper for a more permanent color restoration.
- UV Protectant: After restoring colour, use a UV protectant to prevent future fading.
- Plastic Filler: For deep scratches or cracks, plastic filler smooths the surface before applying restorers or dye.
2. Step-by-Step Guide to Applying the Product:
Once you’ve chosen the right product, it’s time to get hands-on. Applying these products is straightforward, but following the steps carefully will ensure a professional-looking finish.
- Test First: Before applying the product to the entire fender, it’s a good idea to test it on a small, inconspicuous area. This helps ensure that you’re happy with the color and finish before committing to the whole fender.
- Apply Evenly: First, using an applicator pad or microfiber cloth, apply the product evenly across the fender. Then, work in small sections to ensure that you’re covering the entire surface without missing any spots. Finally, make sure to follow the instructions on the product label for the best results.
- Work in Layers: If you’re using a dye or a more intensive restorer, it might take a couple of layers to achieve the desired color. Allow each layer to dry fully before applying the next one. This patience pays off in a richer, more even finish.
- Buff It Out: Once you’ve applied the product, use a clean, dry microfiber cloth to buff the fenders. This step removes any excess product and gives your fenders a nice, even sheen.
Step 3: Sealing and Protecting the Fenders
Before you finish up, there’s one last crucial step to make sure your hard work lasts. This final step acts like a protective shield, guarding your fenders against the elements and keeping them looking great for a long time.
- Choosing the Right Sealant
Not all sealants are created equal, so it’s important to choose one that suits your needs. Here are some options:
- UV-Protectant Sealants: These are ideal if you live in a sunny area. They provide strong protection against UV rays, which are a major cause of fading. A product like 303 Aerospace Protectant is a popular choice because it’s specifically designed to protect against sun damage.
- Ceramic Coatings: For those looking for maximum protection, a ceramic coating is a top-notch option. It’s a bit more advanced to apply, but it offers exceptional durability and a deep, glossy finish that lasts for years.
- Wax-Based Sealants: Firstly, If you’re looking for something that’s easy to apply and provides decent protection, a wax-based sealant is a great choice. These are less expensive and can be applied quickly, making them perfect for quick touch-ups.
2. How to Apply the Sealant for Long-Lasting Results
Applying the sealant correctly is key to getting the most out of it. Here’s how to do it:
- Clean the Surface Again: Before applying the sealant, make sure the fenders are clean and free of dust or debris. Even a small amount of dirt can get trapped under the sealant, leading to an uneven finish.
- Apply Evenly: Use an applicator pad or microfiber cloth to apply the sealant in thin, even layers. Work in small sections to ensure full coverage. If you’re using a spray-on sealant, spray it onto the cloth first to avoid overspray on unwanted areas.
- Let It Cure: After applying the sealant, allow it to cure according to the product’s instructions. This usually involves letting it sit for a few hours or even overnight. During this time, keep the fenders dry and avoid touching them.
- Buff for a Shine: Once the sealant has cured, use a clean microfiber cloth to buff the surface. This not only enhances the shine but also ensures that the sealant is evenly distributed and fully bonded to the fender.
After you’ve completed the three main steps of restoring your Jeep fenders, you might want to check out this helpful video tutorial for a visual guide. This video walks you through the restoration process of jeep wrangler black restoration with easy-to-follow instructions and additional tips to ensure your fenders look their best.
Watch the video tutorial: Click Here
4. Maintenance Tips for Longevity
After putting in the effort to restore your Jeep’s fenders, the last thing you want is to see them fade or get damaged again. The good news is that with a few simple maintenance steps, you can keep your fenders looking fresh and vibrant for the long haul. Let’s dive into some easy and effective tips to maintain that like-new appearance.
- Regular Cleaning
Just like with any part of your vehicle, regular cleaning is key to keeping your fenders in top shape. Dirt, mud, and road grime can build up over time, dulling the appearance of your restored fenders.
Therefore, make it a habit to wash your Jeep regularly, paying particular attention to the fenders. Furthermore, use a mild automotive soap and water to gently clean the surface. Finally, avoid harsh chemicals that can strip away the protective sealant or damage the fender material.
- Reapply UV Protectant
Sunlight is one of the biggest culprits when it comes to fading fenders. Even after restoring them, prolonged exposure to UV rays can cause the color to fade again.
To prevent this, reapply a UV protectant every few months. This creates a barrier that helps shield the fenders from harmful sun damage, keeping them looking fresh and vibrant.
If you live in a particularly sunny area, you might want to do this more frequently, especially during the summer months.
- Inspect Regularly
Every once in a while, take a close look at your fenders to check for any signs of wear or damage. This could include small scratches, areas where the sealant might be wearing off, or spots where the color is starting to fade.
Catching these issues early allows you to address them before they become bigger problems, ensuring your fenders stay in great condition.
- Store Your Jeep Smartly
If you’re not using your Jeep for a while, consider how and where you store it. Parking in a garage or using a car cover can protect your fenders from the elements, especially from the sun and rain.
This extra layer of protection can make a big difference in maintaining the look of your fenders over time.
- Conclusion:
Restoring your Jeep fenders is a rewarding project that not only enhances the appearance of your vehicle but also extends its durability and value. By carefully following each step you’ve transformed worn-out fenders into something that looks almost brand new.
This process is about more than just aesthetics; it’s about preserving the integrity of your Jeep for all the adventures ahead.
As you hit the road or trail with your newly restored fenders, remember that regular maintenance is key to keeping them in top shape. Continue to wash, protect, and touch up your fenders as needed to ensure they stay looking their best.
6. FAQs about Restoring Jeep Fenders
1. Why is it important to clean the fenders before restoring them?
Cleaning the fenders is crucial because it removes dirt, grime, and old products, ensuring a smooth restoration process. A clean surface allows new products, like paint or sealant, to adhere properly and last longer.
This step helps prevent issues like peeling or uneven application, leading to a more durable and professional finish. Taking the time to thoroughly clean your fenders is a key first step in the restoration process.
2. How do I know if my fenders need restoration?
If your fenders are faded, scratched, or have lost their original shine, it’s likely time for a restoration. Specifically, look for signs of wear and tear such as deep scratches, cracks, or significant color fading. These are all clear indicators that your fenders could use some attention.
3. How long does the restoration process take?
The time it takes depends on the condition of your fenders and how thorough you want to be. Cleaning and prepping can take a couple of hours, while the entire restoration process, including drying times between coats, might take a full day or more.
4. How do I maintain my fenders after restoration?
Regularly wash and wax your fenders to keep them looking their best. Avoid harsh chemicals, and touch up any scratches or chips as soon as you notice them to prevent further damage.
5. How do I restore dried-out plastic?
Restoring dried-out plastic involves cleaning the surface thoroughly and then applying a plastic conditioner or trim restorer. These products rehydrate the plastic, making it look new again.
6. How much does it cost to replace a fender on a Jeep?
The cost to replace a fender on a Jeep can vary depending on the model and location, but it generally ranges from $300 to $1,000, including parts and labor.


