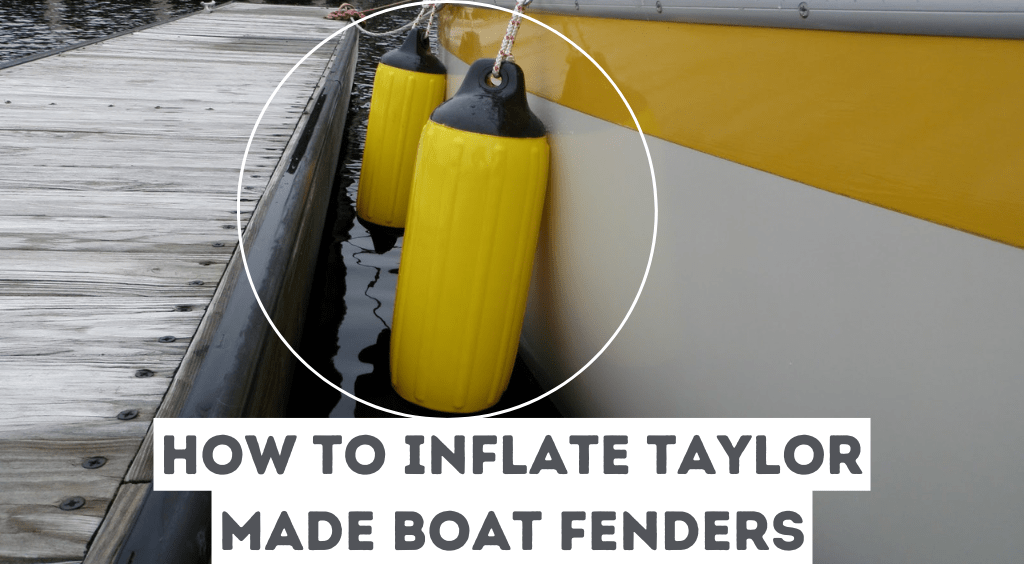
Properly inflating your boat fenders is essential for protecting your vessel from potential damage at docks or when docking alongside other boats. In this detailed guide on How to Inflate Taylor Made Boat Fenders?, we’ll walk you through the process, covering the best tools to use, ideal PSI levels, and easy-to-follow, step-by-step instructions.
Additionally, we’ll share important maintenance tips and must-have fender accessories to help you keep your fenders in top condition for long-lasting performance and protection.
Whether you’re a seasoned sailor or just getting started, this guide will help you avoid the common pitfalls of fender inflation and make sure you’re equipped with all the right tools and techniques. Let’s dive in!
Tools You’ll Need to Inflate Taylor Made Fenders
Before you start inflating your Taylor Made fenders, it’s essential to have the right tools on hand. While the process isn’t overly complicated, having the right equipment can make it much smoother and ensure that your fenders are inflated to the correct pressure without damaging them.
Pumps
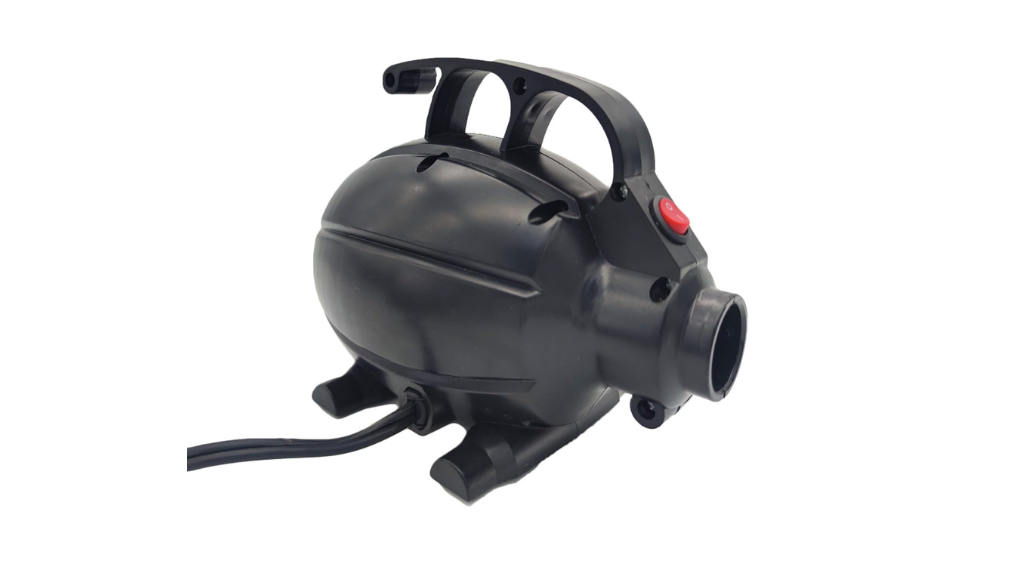
The most important tool for inflating your fenders is, of course, the pump. Taylor Made fenders require a high-pressure pump, and you’ll have two main options: manual pumps and electric pumps.
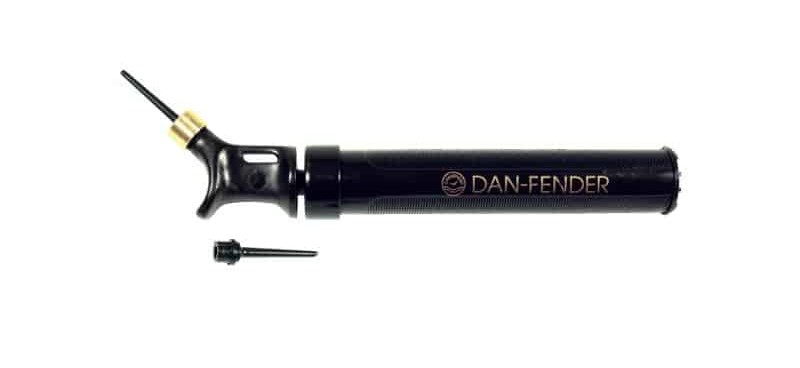
Manual Pumps: If you prefer a more hands-on approach, a manual pump is a great option. It’s portable, doesn’t require electricity, and gives you complete control over the inflation process. Just make sure to choose one that’s specifically designed for high-pressure inflation to avoid damaging the fender’s valve.
Electric Pumps: If you want a quicker, more efficient solution, an electric pump can inflate your fenders in no time. These are especially useful if you have multiple fenders to inflate or if you’re inflating larger models like the Super Gard or Tuff End fenders.
High-Pressure Pump Features
When selecting a pump, make sure it meets these key criteria:
Pressure Output: Look for a pump that offers an output of at least 20-30 PSI (pounds per square inch), which is the ideal range for inflating Taylor Made fenders.
Nozzle Fit: Many Taylor Made fenders, especially the Super Gard and Tuff End models, have a football-style inflation valve, so you’ll need a pump with a compatible nozzle to ensure a snug fit during inflation.
Optional Tools
Air Pressure Gauge: While not essential, an air pressure gauge can help you keep an eye on the PSI levels during inflation. This is especially useful for larger fenders where over-inflation could cause damage.
Adapter Kits: Some fenders may require a specific type of adapter to fit the inflation valve, so having a small adapter kit can come in handy.
With your tools gathered and ready, you’re now set to begin the inflation process. In the next section, we’ll walk you through the step-by-step process to properly inflate your Taylor Made fenders and ensure they’re ready for action.
A Step-by-Step Guide on How to Inflate Taylor Made Boat Fenders
Now that you have your tools ready, it’s time to get into the actual process of inflating your Taylor Made boat fenders. Inflating fenders might seem straightforward, but doing it correctly will ensure that your boat is well-protected and that your fenders last a long time. Let’s walk through the steps to make sure you get it right.
Step 1: Preparing the Fender and Tools
Before you start, it’s important to have everything ready and in place. Here’s what you need to do first:
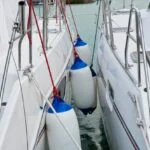
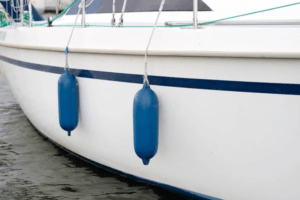
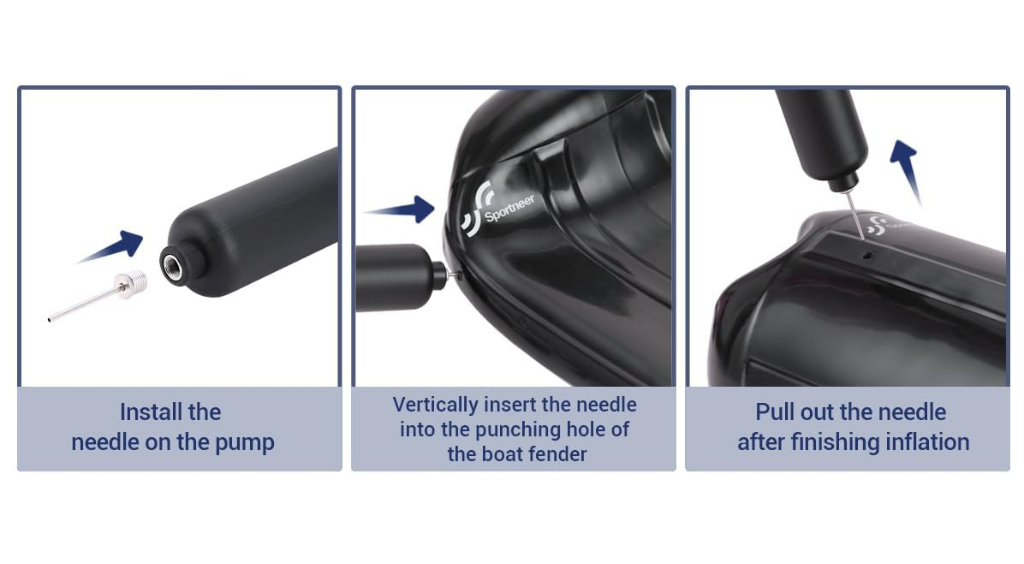
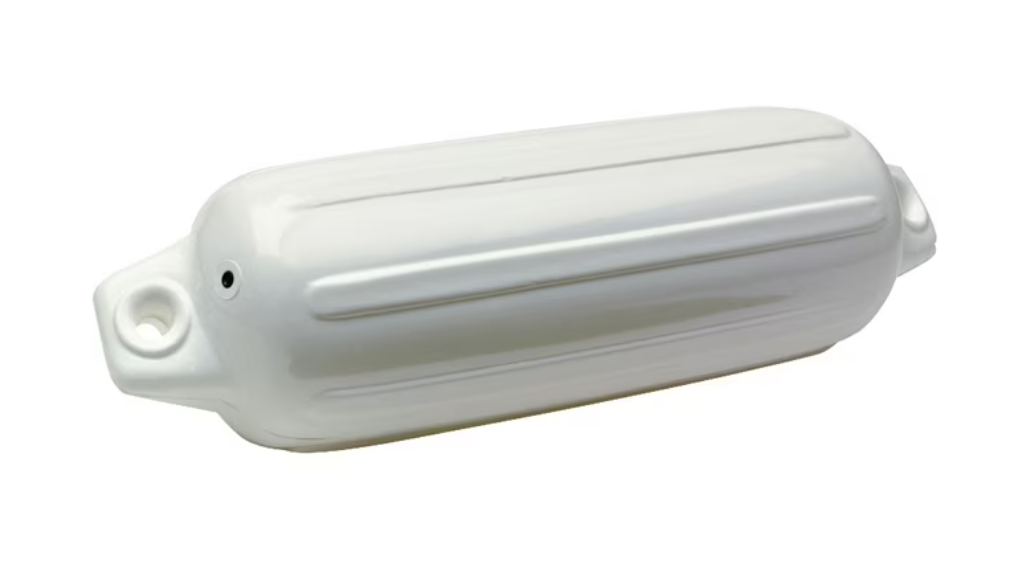
- Locate the Inflation Valve: Most Taylor Made fenders, like the Super Gard, have a football-style inflation valve. Find this valve on the fender, as it’s where you’ll attach your pump.
- Gather Your Tools: Have your high-pressure pump ready, whether it’s manual or electric. If you have an air pressure gauge, keep it nearby to check the pressure as you inflate.
- Clean the Valve: It’s a good idea to check and clean the valve before inflation, especially if the fender has been stored for a while. Any dirt or debris could affect how well the valve seals during inflation.
Now that your tools and fender are prepped, it’s time to get inflating.
Step 2: Inflating the Fender
This is the core of the process. Follow these steps carefully to ensure a proper inflation:
- Attach the Pump to the Valve: Make sure the pump’s nozzle fits snugly into the inflation valve. For fenders with a football-style valve, an adapter might be needed to secure the pump’s nozzle.
- Inflate Slowly and Steadily: Start pumping slowly. If you’re using a manual pump, pace yourself to avoid overinflating too quickly. For electric pumps, watch the pressure gauge or keep a close eye on the fender as it inflates. Inflate until the fender feels firm but has a little give when you press on it.
- Monitor Air Pressure: Most Taylor Made fenders recommend inflating to about 1-2 PSI, which ensures that the fender is firm enough to absorb impacts but flexible enough to avoid bursting. If you have a pressure gauge, use it to check the PSI as you inflate. Without a gauge, you can use the squeeze test: the fender should be firm but not rock-hard.
Step 3: Ensuring Proper Air Pressure
Knowing when to stop inflating is just as important as knowing how to start. Here are some tips to make sure your fender is inflated to the correct pressure:
- Check the Firmness: Press down on the inflated fender with your hand. It should feel firm but still compress slightly when you apply pressure. Overinflated fenders can become rigid, increasing the risk of damage.
- Avoid Overinflation: Overinflating can cause stress on the seams and the valve, leading to leaks or, in extreme cases, causing the fender to burst. If you’re unsure, it’s better to underinflate slightly and add more air later if needed.
Step 4: Sealing the Valve
Once you’re satisfied with the inflation level:
- Remove the Pump: Gently remove the pump’s nozzle from the valve. Be careful not to let any air escape in the process.
- Tighten the Valve Cap: Secure the valve by tightening the cap to prevent air from leaking out. Make sure it’s tightly sealed, as even a small gap can lead to gradual deflation over time.
And there you have it – your Taylor Made fender is now properly inflated and ready to protect your boat!
Tips for Maintaining Taylor Made Fenders
Once your fenders are properly inflated, it’s important to maintain them to ensure they last as long as possible. Taylor Made fenders are durable, but a little care goes a long way in extending their lifespan.
Cleaning the Fenders
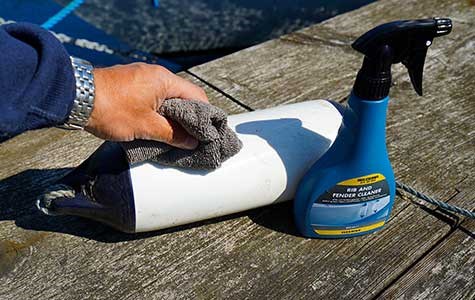
Boat fenders are exposed to saltwater, sun, and various marine elements, all of which can cause wear and tear over time. Regular cleaning can help preserve their vinyl finish and keep them looking like new.
How to Clean: Use mild soap and water to clean off dirt, salt, and grime. Avoid using harsh chemicals, as these can degrade the vinyl material. A soft sponge or cloth works best for wiping down the surface.
Storage Tips
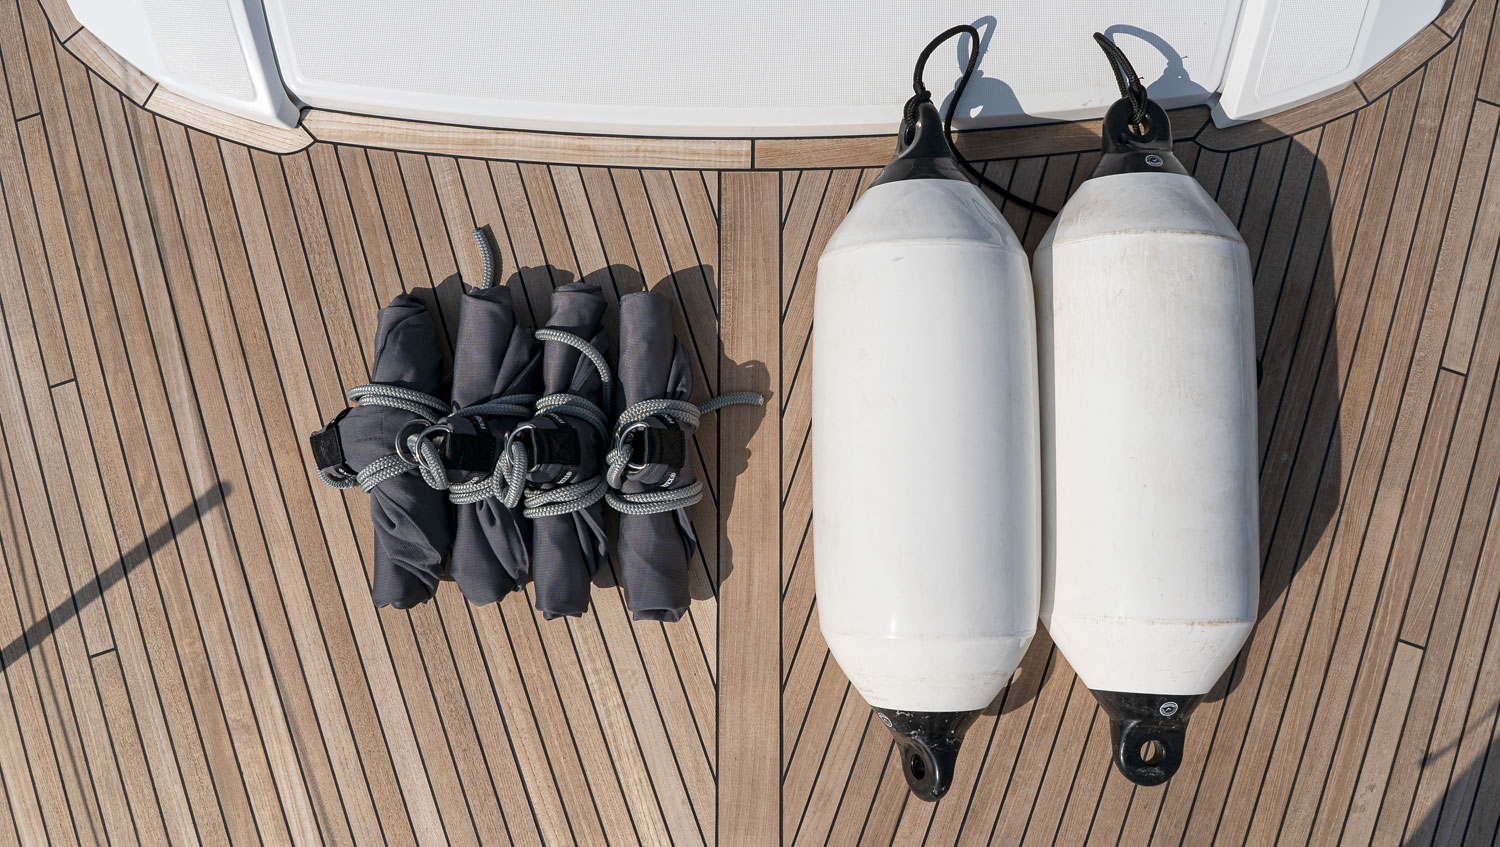
When your boat isn’t in use, or during off-season storage, it’s a good idea to deflate and properly store your fenders. This not only saves space but also protects the fenders from unnecessary exposure to the elements.
Storage Best Practices: Store fenders in a cool, dry place out of direct sunlight. If possible, keep them slightly deflated to relieve pressure on the seams and valve. Make sure they’re clean and dry before storing them to prevent mildew or damage.
Inspecting Fenders for Wear and Tear
Routine inspections can help you catch any potential problems before they get worse.
When to Inspect: At the start and end of every boating season, inspect your fenders for signs of wear, such as cracks, punctures, or valve issues. Address any problems immediately, whether it’s cleaning the valve or patching a small hole, to avoid bigger issues later.
By taking these simple steps, you can keep your Taylor Made fenders in top shape, ensuring they provide maximum protection for your boat season after season.
Alternatives Options and Accessories
While Taylor Made boat fenders are renowned for their quality and durability, you might be curious about other options on the market or some accessories that can enhance your overall boating experience. Whether you’re looking for alternative fenders or useful add-ons to go along with your Taylor Made fenders, here’s what you should know.
Alternative Boat Fenders
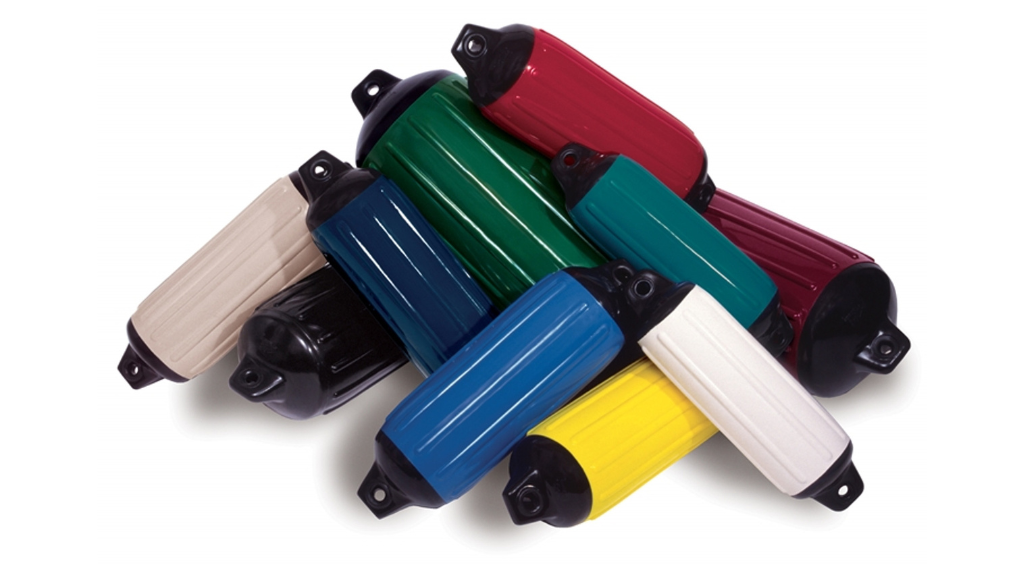
Although Taylor Made fenders are a go-to choice for many boaters, there are other reputable brands and fender types available that may suit your specific needs. Some of the popular alternatives include:
Polyform Fenders: Known for their toughness and ability to withstand harsh marine conditions, Polyform fenders are a solid alternative to Taylor Made. These fenders are often used for larger vessels or in commercial settings.
Plastimo Fenders: If you’ve been wondering “how to pump up Plastimo fenders”, the process is similar to Taylor Made. These fenders offer high-quality protection and come in a range of sizes, making them another viable option.
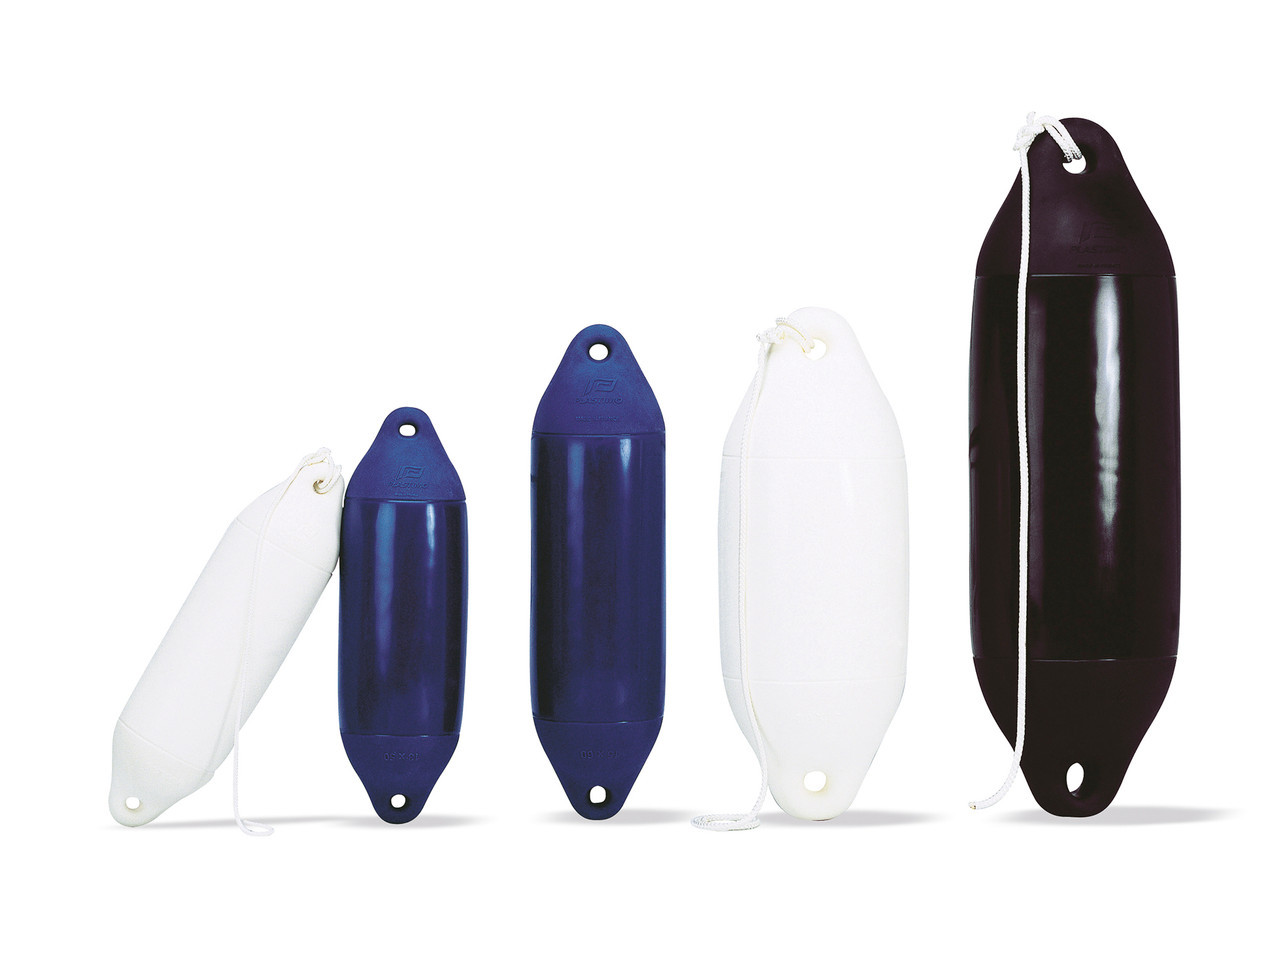
Seachoice Fenders: Seachoice offers budget-friendly fenders that still provide reliable protection for smaller boats. If you’re looking for a lower-cost alternative, these might be worth considering.
Each brand has its own strengths, so it’s worth comparing features, sizes, and materials to find the best match for your boat.
Fender Accessories
To make the most of your Taylor Made fenders, consider adding a few handy accessories to your toolkit. These can help with inflation, maintenance, or even enhance the functionality of your fenders.
- Fender Covers: Over time, even the toughest fenders can get scuffed or dirty. A fender cover helps protect the vinyl material and extends the lifespan of your fenders. Taylor Made offers custom-fit fender covers that are both durable and easy to clean.
- Valve Repair Kits: If you ever experience valve issues with your fenders, having a valve repair kit on board can be a lifesaver. These kits come with replacement valves and tools to fix any issues quickly.
- Fender Hangers: To keep your fenders securely in place while docked, fender hangers are a must-have accessory. They make it easier to adjust the height of your fenders and ensure they’re positioned perfectly to protect your boat.
These accessories not only make fender management easier but also add an extra layer of protection, ensuring your fenders are always performing at their best.
Conclusion
Properly inflating your Taylor Made boat fenders is an essential task that shouldn’t be overlooked. Whether you’re a seasoned boater or a newbie, understanding *how to inflate Taylor Made boat fenders* correctly will save you from potential damage, and extend the life of your fenders.
Key Takeaways:
- Having the right tools, like a high-pressure pump, makes the job of inflating fenders quick and efficient.
- Monitoring the air pressure (ideally 1-2 PSI for most fenders) ensures they’re firm enough to provide protection without risking over-inflation.
- Routine maintenance—cleaning, storing, and inspecting your fenders—will help keep them in optimal condition for the long term.
By following this guide, you’ll not only know how to inflate your Taylor Made fenders with confidence but also be equipped with tips for troubleshooting common issues and maintaining them for years to come.
In addition, exploring alternative fenders and accessories can enhance your boating experience, ensuring you’re fully prepared no matter where your adventures take you.
So, whether you’re mooring at a busy dock or cruising along quiet waters, your well-inflated Taylor Made fenders will be there to protect your vessel, ensuring smooth sailing every time.
FAQs (Troubleshooting Common Issues with Fender Inflation)
Even with the best tools and a careful approach, you may run into some hiccups along the way. Let’s address some common issues boat owners face when inflating Taylor Made fenders and how to resolve them.
Why Won’t My Fender Inflate Properly?
If you’re having trouble getting air into your fender, the first thing to check is the valve. Dirt, sand, or other debris can block the valve, preventing air from entering.
Solution: Remove the valve cap and inspect the valve opening. Clean it with a soft cloth or compressed air. If the problem persists, try using an adapter to ensure the pump nozzle fits securely.
What If My Fender Loses Air Quickly?
It’s frustrating to inflate a fender only to find that it deflates after a few hours or days. This usually indicates a leak or an issue with the valve.
Solution: First, check the valve to ensure it’s tightly closed. If the valve seems secure, inspect the fender for small punctures or cracks. You can do this by submerging the fender in water and watching for bubbles, which indicate a leak. If you find a puncture, patch kits designed for vinyl fenders are available.
How Do I Know if My Fender is Fully Inflated?
Many boat owners wonder if their fenders are inflated enough, especially if they don’t have a pressure gauge.
Solution: While the recommended PSI for most Taylor Made fenders is around 1-2 PSI, you can also rely on the squeeze test. The fender should be firm, with just a little bit of give when pressed. If it feels rock-hard, it’s likely overinflated.
What PSI Should Boat Fenders Be?
For Taylor Made fenders, 1-2 PSI is typically the ideal inflation level. This keeps the fender firm enough to absorb impact but flexible enough to prevent bursting under pressure.
Solution: If you’re unsure about the exact pressure, err on the side of caution and underinflate slightly. You can always add more air later if needed.
What If My Fender Has a Damaged Valve?
A damaged valve can cause continuous deflation or prevent proper inflation.
Solution: If the valve is worn out or damaged, you may need to replace it. Taylor Made fenders often have replaceable valves, and repair kits are available. Simply unscrew the old valve and install a new one.