Rolling your car’s fenders might seem like a daunting task, but with the right tools and a little patience, it’s a DIY project that can prevent tire rub and give your vehicle a sleek, finished look. Whether you’re installing wider tires, lowering your car, or simply want to learn more about automotive modifications, this guide on how to roll fenders with a fender roller will walk you through the process step-by-step.
We’ll cover everything from selecting the right fender rolling tool to achieving that perfect fender roller before and after the result. By following this guide, you’ll not only improve your car’s appearance but also protect your tires from damage. Let’s get started and explore the ins and outs of rolling fenders at home!
Tools and Materials Needed
Before you start rolling fenders, it’s important to gather all the tools and materials you’ll need. Having everything ready will make the process smoother and safer.
Essential Tools for Rolling Fenders
The following are some essential tools that you must arrange before rolling a fender.
- Fender Rolling Tool: The main car fender rolling tool you’ll use is the fender roller. It attaches to your car’s hub and allows you to gently bend the inner lip of the Fender outward, a crucial step in how to roll car fenders properly.
- Heat Gun: A heat gun is used to warm up the Fender to prevent the paint from cracking while you roll it. This is a critical step, as cold metal and paint can crack or chip when bent.
- Jack and Jack Stands: You’ll need a jack to lift your car and a jack stand to hold it up while you work securely. Never rely on the jack alone—always use jack stands for safety.
- Torque Wrench: A torque wrench ensures that when you put your wheels back on, you tighten the lug nuts to the correct specification. This is important for your safety.
- Painter’s Tape: This tape is used to protect the edge of your fenders and paint while you work. It’s easy to remove and won’t damage your paint.
- Gloves and Protective Eyewear: Protect your hands and eyes from any debris or sharp edges that might cause injury.
Optional Tools
These tools are optional and if available will make the process more perfect..
- Temperature Gun: This tool helps you monitor the temperature of the Fender while heating it. Keeping the temperature in the right range (about 120°F – 150°F) prevents paint damage.
- Rolling Dollies: These are small, wheel-mounted platforms that can help you move around the car easily while working on it, especially if you’re in a tight space.
Preparation Before Rolling Fenders
Preparation is key to successfully rolling fenders without damaging your car. Here’s what you need to do before you start rolling.
Selecting the Right Location
- Work in a Safe Area: Find a flat, well-lit space to work, like your garage or driveway. Make sure the ground is level so your car is stable when lifted.
- Check the Weather: If you’re working outside, choose a day that’s not too hot or cold. Extreme temperatures can affect the metal and paint on your car.
Preparing the Car
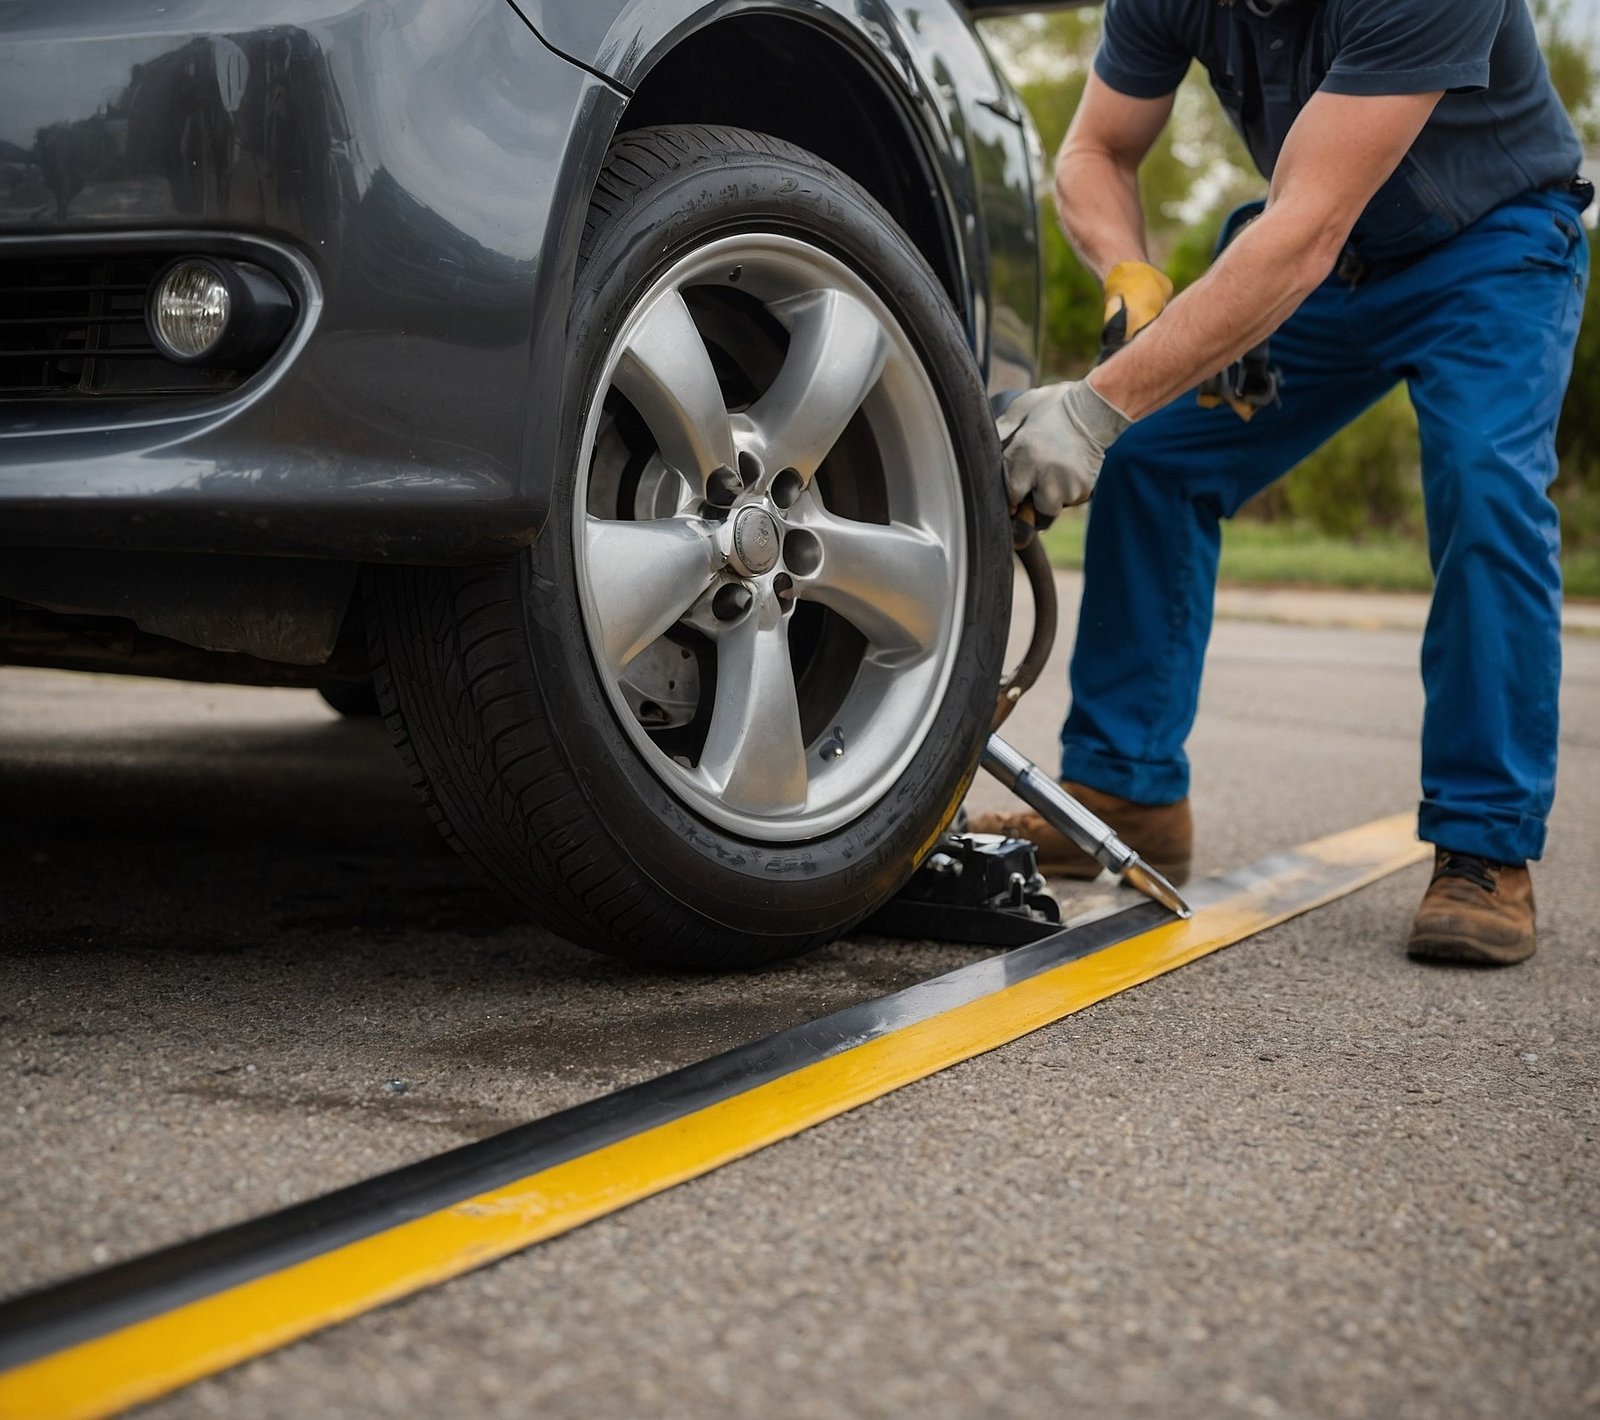
- Lift the Car: Use your jack to lift the car at the correct jacking point. Once lifted, place the jack stands under the car’s frame and lower the jack so the car rests securely on the stands.
- Remove the Wheels: With the car safely lifted, use a wrench to remove the lug nuts and take off the wheels. This gives you clear access to the fenders.
- Clean the Fender Area: Wipe down the area you’ll be working on. Dirt and debris can cause scratches or make the process harder.
Heating the Fender
- Why Heating is Important: Heating the Fender softens the metal and paint, making them more flexible and less likely to crack.
- How to Heat Properly: Use your heat gun to warm the entire area you’ll be rolling. Keep the heat gun moving and aim for a temperature between 120°F and 150°F. You can check the temperature with a temperature gun if you have one. If you don’t, just be careful not to overheat any spots.
Step-by-Step Guide to Rolling Fenders
Now that you’ve prepared everything, it’s time to start rolling your fenders. Follow these steps carefully for the best results.
Positioning the Fender Roller
- Attach the Fender Roller: Place the Fender rolling tool on the wheel hub where you removed the wheel. Adjust the arm of the tool so that the fender lip roller is pressed against the inside edge of the fender lip.
- Secure the Roller: Make sure the roller is tight and in the right position. The goal is to bend the lip of the Fender outward slowly.
Starting the Rolling Process
- Roll Slowly: Begin rolling the Fender by gently turning the handle of the Fender roller tool. Move the roller back and forth across the fender lip. Don’t rush this process—rolling too quickly can cause the metal to bend unevenly or the paint to crack.
- Apply Even Pressure: As you roll, apply even pressure. You should start to see the fender lip gradually bending outward. If you need a more aggressive roll, slightly increase the pressure and continue.
Monitoring the Fender’s Temperature
- Keep an Eye on Heat: As you roll, periodically reheat the Fender with your heat gun to maintain flexibility. This is especially important if you’re taking your time, as the metal can cool down and become more brittle.
- Check for Paint Damage: After a few passes with the roller, stop and check for any signs of paint cracking or chipping. If you notice any, apply more heat before continuing.
Checking the Progress
- Feel the Fender: Gently run your hand along the rolled edge to feel for smoothness. The lip should be evenly rolled without sharp bends or creases.
- Adjust as Needed: If any areas need more rolling, adjust the roller and apply more pressure as needed. Take your time to get a smooth, even finish.
Aftercare and Maintenance
After rolling your fenders, it’s important to check your work and take steps to maintain the newly rolled fenders.
Inspecting Your Work
- Look for Damage: Check the Fender for any cracks in the paint or uneven spots in the roll. If you find any issues, you may need to touch up the paint or smooth out the roll with the fender roller.
- Smooth the Edges: If there are any rough edges or sharp spots on the fender lip, carefully smooth them out with fine-grit sandpaper. This will prevent them from cutting into the tires.
Reattaching the Wheels and Lowering the Car
- Put the Wheels Back On. Line up the wheels with the hub and screw the lug nuts back in place. Use your torque wrench to tighten the lug nuts to the manufacturer’s recommended torque specification.
- Lower the Car: Once the wheels are securely attached, use your jack to lift the car slightly off the jack stands. Remove the stands and slowly lower the car back to the ground.
Long-Term Maintenance
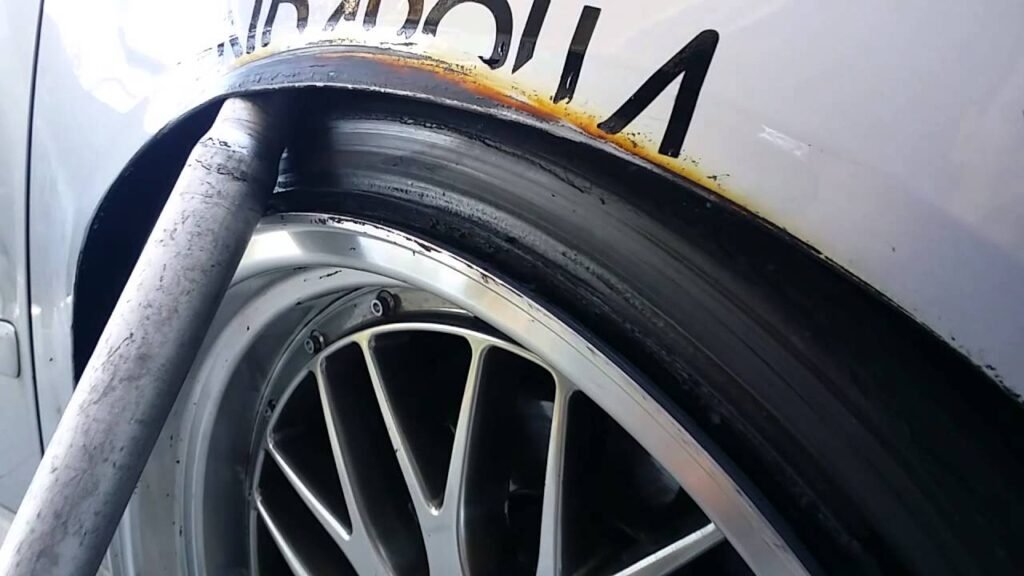
- Check for Rust: Over time, rolled and pulled fenders can be prone to rust, especially if the paint was cracked during rolling. Regularly check the rolled area for any signs of rust and treat it as soon as possible to prevent further damage.
- Monitor Tire Clearance: After driving for a few days, check to ensure the tires aren’t rubbing against the fenders. If you notice any rubbing, you may need to roll the fenders more or adjust your suspension.
Conclusion
Rolling your fenders with a fender roller is a practical way to prevent tire rub and improve your car’s appearance, especially if you’ve installed larger wheels or lowered your vehicle. By following the steps outlined in this guide on how to roll fenders at home, you can achieve professional results. Remember to take your time, use the right tools, and always prioritize safety. With a little patience, you’ll achieve a smooth and even Fender roller before and after the result that will enhance both the look and performance of your car. Whether you’re doing a simple DIY fender rolling project or learning how to pull fenders, this guide has you covered. Don’t hesitate to share this guide with other car enthusiasts or leave a comment if you have any questions. Happy rolling!
FAQs Section
What temperature do you roll fenders?
It’s best to roll fenders at a temperature between 120°F and 150°F. Heating the Fender to this temperature range helps prevent the paint from cracking while you roll the metal. Use a heat gun to warm up the Fender evenly before and during the rolling process.
What does a fender roller do?
A fender roller is a car fender rolling tool that helps you bend the inner edge of your car’s Fender outward. This creates more space between the tire and the Fender, preventing the tire from rubbing against the metal. It’s commonly used by car enthusiasts who have installed wider tires or lowered their cars.
Is Fender rolling safe?
Yes, fender rolling is generally safe when done correctly. The key is to take your time, use the right tools, and heat the Fender properly to avoid damaging the paint. However, there is always a risk of paint cracking or metal warping if the process is rushed or not done carefully.
How long does it take to get the fenders rolled?
Rolling fenders typically takes between 30 minutes to 2 hours, depending on your experience and the tools you’re using. If it’s your first time, you might take longer to ensure everything is done correctly. Experienced users can usually complete the process more quickly.


