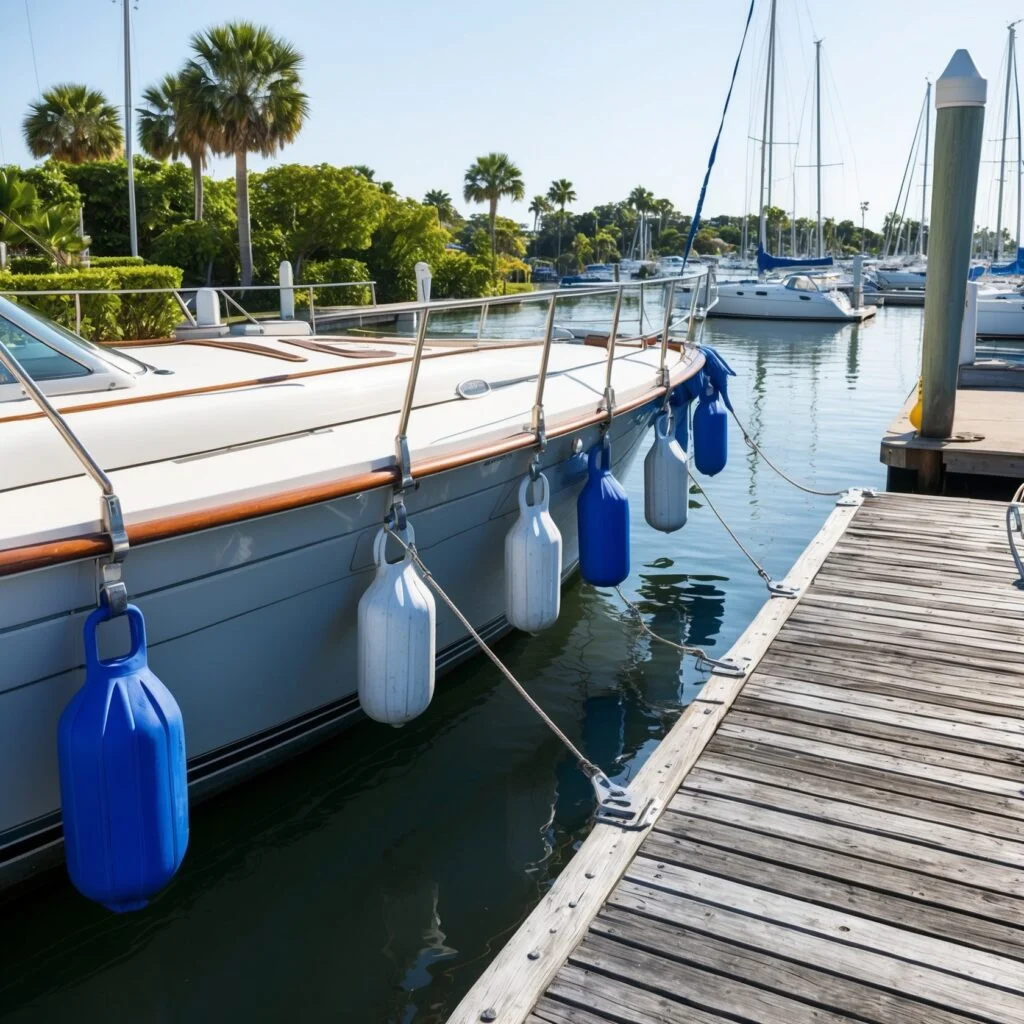
Knowing how to inflate boat fenders properly is one of the most essential skills for any boat owner. A well-inflated fender provides the right amount of cushion and protection for your boat’s hull. This ensures your vessel stays safe from potential damage when docking or rafting.
Under-inflated fenders can leave your boat exposed to impacts, causing scratches and dings along the hull. On the other hand, over-inflated fenders become stiff and lose their shock-absorbing properties, making them less effective at protecting your vessel.

Simply put, the right inflation helps your fenders do their job—cushioning and absorbing impact—without risking damage to your boat or the fender itself. This guide will show you everything you need to know, including how to determine the right PSI (pounds per square inch), the best tools to use, and troubleshooting tips if things don’t go as planned.
1. What Tools Can You Use to Inflate Boat Fenders?
Choosing the right tool is crucial because it directly affects the quality and safety of your fender’s inflation. Let’s go through the most commonly used tools and see which one suits your needs best:
- Hand Pumps
Hand pumps are a favorite for many boaters, especially for smaller fenders or when you’re at the marina with no power source. They’re easy to carry and give you complete control over how much air you’re adding.
Imagine you’re just starting to inflate your fender with a hand pump. You’ll notice it takes a bit more effort and time, but this method almost guarantees you won’t over-inflate it. If you’re using a specialty hand pump designed for boat fenders, it usually comes with an adapter that perfectly fits the valve, making the process seamless.
- Foot Pumps
Foot pumps work similarly to hand pumps but can offer more leverage. This means less strain on your arms and quicker inflation. They’re also compact and easy to store, making them a practical option if you don’t have a lot of storage space on your boat.
- Air Compressors
If you’ve got a bigger boat with larger fenders, an air compressor might be your best bet. But be careful! It’s easy to over-inflate with these. To avoid this, set the PSI to a lower level, and inflate slowly.
Remember, different fenders have different pressure requirements. Polyform fenders, for example, should be inflated to 2.1 lbs/0.15 bar of pressure(
- Gas Station Pumps
Sometimes you might be tempted to use the air pumps at gas stations—especially when you’re in a pinch. While it’s possible, these pumps are typically high-pressure, which can lead to accidental over-inflation. If you do choose to use one, set the gauge to the lowest PSI and inflate in short bursts.

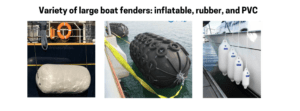
2. Recommended PSI Levels for Different Fender Types and Sizes
One size doesn’t fit all when it comes to inflating boat fenders. The right pressure ensures your fenders can absorb shock and protect your boat effectively. Under-inflated fenders won’t provide enough cushion, and over-inflated ones can become too rigid.
Let’s look at the ideal PSI levels for some common fender types:
- Small Fenders
Inflate these to around 1.5-2 PSI. You can use a hand or foot pump for these, as they don’t require too much pressure.
- Medium-Sized Fenders
These should be inflated to around 2-2.5 PSI. An air compressor set at a low PSI can be a quick solution here. - Large Fenders
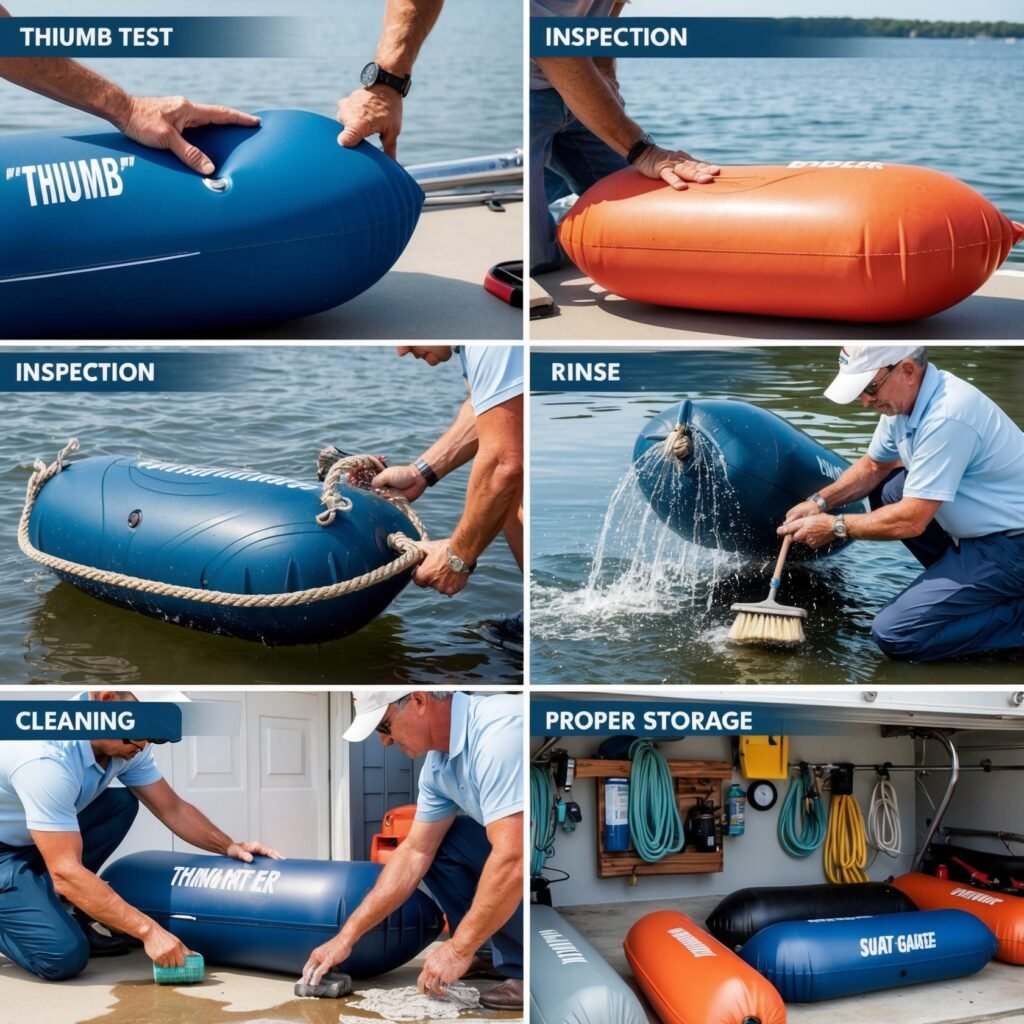
Larger fenders need to be sturdy but still have some give. Inflate these to around 2.5-3 PSI, but always do a “thumb test” to ensure they’re not too stiff.
If you are unsure about the pressure, you can use a pressure gauge or simply press the fender with your thumb. If you can push the fender in about 1/4 inch with moderate pressure, you’re good to go!
3. Step-by-Step Guide to Inflating Boat Fenders
Following the right steps ensures your fenders last longer and perform well. Let’s get started!
Step 1: Gather the Necessary Equipment
Before you start, make sure you have everything you need. Here’s a quick checklist:
- Hand or foot pump / air compressor (with a PSI control)
- Inflation needle or adapter that fits your fender’s valve
- Pressure gauge (if available)
- Cloth for cleaning any dirt around the valve
Having the right tools on hand will save you a lot of hassle. Many people skip the pressure gauge, but it’s incredibly useful for ensuring you don’t over-inflate the fender.
Step 2: Prepare the Fender
- Start by inspecting the fender for any visible damage, especially around the valve area. Dust or debris can clog the valve, making inflation more challenging.
- Remove the valve cap (if it has one) and set it aside. Make sure to keep this in a safe spot—losing the cap could lead to air leaks.
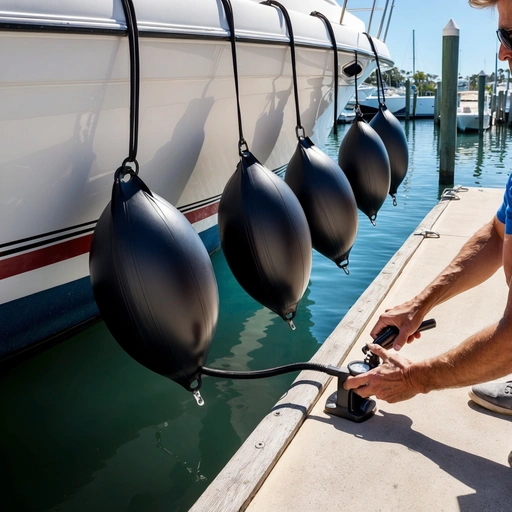
Step 3: Start Inflating
- If you’re using a hand or foot pump, first attach the inflation needle to the pump. Then, insert the needle carefully into the valve and begin pumping slowly until the fender reaches the desired firmness.
- If you’re using an air compressor, set the gauge to the recommended PSI level before you start. Insert the needle into the valve and inflate gradually, pausing to check the pressure as you go to avoid over-inflation.
Don’t rush this step. It’s easy to go overboard, especially with high-powered pumps like compressors. When in doubt, stop and do a quick pressure check.
Step 4: Checking Inflation Levels and Adjust as Necessary
- Now it’s time to check the pressure. Use your pressure gauge if you have one. If not, press down on the fender with your thumb. You should be able to push in about 1/4 inch. If it’s too firm, release some air. If it’s too soft, add a few more pumps.
- Remember, different weather conditions can affect your fender’s firmness. For instance, on a hot day, the air inside the fender may expand, making it firmer than expected. In colder temperatures, it might feel softer.
Step 5: Seal the Valve and Conduct Final Inspection
- Once you’re happy with the pressure, remove the pump carefully. Quickly close the valve and screw the cap back on tightly. This prevents any air from escaping.
- Finally, give the fender a gentle squeeze and inspect it for any signs of leaks. If you hear a hissing sound, it might mean the valve isn’t sealed properly. In that case, reopen it, reposition the cap, and tighten it again.

4. Preventing Common Inflation Issues
Inflating your boat fenders might seem easy, but there are some common mistakes to avoid. Over-inflation, under-inflation, and leaks can affect performance and protection. Knowing how to prevent these issues will help keep your fenders in top shape.
4.1. How to Avoid Over-Inflation
Over-inflating your boat fenders can lead to more problems than you might think. Over-inflated fenders become rigid and lose their ability to absorb shock. This can cause them to burst under pressure or result in ineffective cushioning against the dock, potentially damaging your boat’s hull.
So, how do you avoid over-inflation? Here’s a simple rule of thumb: always use a pressure gauge. If you don’t have one, you can do a quick test with your fingers. Press down on the fender wall—it should give in about a quarter of an inch with moderate pressure. If you can’t press it in that far, it’s too firm.
If you’re using an air compressor, it’s easy to get carried away. To prevent this, set your PSI (pounds per square inch) on the lower side and inflate gradually. Pause every few seconds to check the fender’s firmness.
4.2. Handling Stuck Valves
One of the most common problems boaters face when inflating their fenders is a stuck valve. You’re pumping away, but no air seems to be entering the fender. Frustrating, right? This usually happens because the valve’s internal flap is stuck in a closed position.
Here’s a simple trick to fix it: Use a small, blunt object—like the back end of a pen or a screwdriver—and gently push it into the valve opening. This should release the flap and allow air to pass through freely. Just be careful not to use anything too sharp or pointed that could damage the valve.
Sometimes, the valve might get stuck due to dirt or debris. In such cases, use a bit of soapy water and a soft cloth to clean the valve area before attempting to inflate the fender again.
4.3. Recognizing and Resolving Leaks
If you’ve ever noticed that your fender seems to be losing air without a visible puncture, it’s likely due to a slow leak around the valve area. To identify if there’s a leak, use a mixture of water and dish soap. Apply it around the valve and look for bubbles forming. If you see bubbles, that’s where the air is escaping from.
To fix a slow leak, you can use a valve repair kit. These kits typically come with a new valve and the tools needed to remove and replace the faulty one. However, if the leak is small and not worth replacing the valve for, applying a bit of silicone sealant around the valve can do the trick temporarily.
5. Maintenance Tips for Inflated Boat Fenders
Proper maintenance keeps your fenders effective and extends their lifespan. Regularly checking for leaks, cleaning, and adjusting air pressure will ensure they stay in great shape.
5.1. Regular Inspection and Adjustments
Your boat fenders aren’t just a one-time setup. They need regular check-ups, just like any other gear on your boat. Make it a habit to inspect your fenders every few weeks, especially if your boat is docked for long periods or frequently in use.
Check the firmness of each fender. Remember the “thumb test” from earlier? If the fender feels too soft or too firm, adjust the air accordingly. This helps maintain the fender’s effectiveness and ensures consistent protection for your boat.
Also, keep an eye out for any signs of wear and tear, like small punctures, frayed ropes, or damaged valve caps. It’s easier to address these issues early on before they become bigger problems.
5.2. Seasonal Care and Storage
Weather plays a big role in the condition of your boat fenders. During the boating season, the sun, saltwater, and fluctuating temperatures can cause your fenders to degrade over time. To keep them in top shape, rinse them with fresh water every now and then to remove salt and grime.
When it’s time to store your fenders, avoid leaving them out in direct sunlight or extreme temperatures. The UV rays can weaken the material, making it brittle. Instead, store them in a cool, dry place. Hanging them in a garage or storage locker is ideal because it helps maintain their shape.
Before putting them away for the off-season, give each fender a thorough cleaning. Use a mild detergent and a soft brush to scrub away any stubborn dirt or stains. Rinse thoroughly and let them dry completely before storing.
5.3. Cleaning and Longevity
Keeping your fenders clean isn’t just about aesthetics. Dirt and grime can weaken the fender’s surface over time, making it more prone to cracks and punctures. Use a mixture of mild soap and water, and avoid harsh chemicals or abrasive cleaners that can strip away the fender’s protective coating.
If your fenders have stubborn stains, try using a specialized fender cleaner. Apply the cleaner, let it sit for a few minutes, and then scrub gently with a soft brush. Regular cleaning not only extends the life of your fenders but also keeps them looking sharp and professional.
To further protect your fenders, consider using fender covers. These covers act as an additional barrier, protecting the fenders from UV rays, saltwater, and dirt. They’re especially useful if your boat is docked in a sunny or harsh environment for long periods.
Your Guide to Fender Inflation
Discover the best practices for inflating boat fenders in this detailed video. It’s packed with useful tips to keep your fenders in top shape! Click to watch.
6. Conclusion:
Properly inflated fenders provide the protection your boat needs when docking or mooring, preventing unwanted scratches and damage to the hull. By following the steps outlined in this guide and regularly maintaining your fenders, you can ensure they perform effectively and last longer. Regular inspections and the right inflation tools will keep your fenders in top shape, ready to absorb any impacts that come their way.
Whether you’re using a hand pump, foot pump, or air compressor, always be mindful of the recommended PSI levels and make adjustments based on weather and docking conditions. Take the time to check your fenders periodically, and don’t hesitate to make small adjustments as needed. With this knowledge of how to inflate boat fenders, you can enjoy your boating experience with confidence and peace of mind, knowing that your vessel is well-protected.
FAQs about Inflating Boat Fenders
- How do I inflate my boat fenders?
To inflate your boat fenders, use a hand pump, foot pump, or air compressor with the correct inflation needle or adapter. Insert the needle into the valve and pump slowly until the fender reaches the desired firmness. Check the pressure regularly to avoid over-inflation. - How much should I inflate boat fenders?
Boat fenders should be inflated to around 2 to 2.5 PSI. If you don’t have a pressure gauge, do a quick “thumb test” by pressing on the fender’s surface. It should compress about 1/4 inch when properly inflated. - What PSI should boat fenders be?
The ideal PSI for most boat fenders is between 2 and 2.5 PSI, depending on the size and type of the fender. Always refer to the manufacturer’s specifications for the recommended pressure. - How do you pump up a boat fender?
Insert the needle into the fender’s valve, and pump air slowly using a hand pump or air compressor. If using a compressor, set it to the recommended PSI and inflate gradually while checking the pressure to avoid over-inflation. - How do I know if my fenders are over-inflated?
Over-inflated fenders feel very hard and rigid, with no “give” when pressed. They can’t absorb shock properly and are more likely to burst under pressure. If your fenders are too stiff, release some air until they have a bit more flexibility. - How often should I check the pressure of my boat fenders?
Check the pressure every few weeks if you’re using the boat actively, and monthly if it’s docked long-term. Always inspect the fenders before long trips or after extreme weather conditions. - Are boat fenders buoyant?
Yes, boat fenders are buoyant because they’re filled with air and made from materials that float. However, they’re primarily designed to act as shock absorbers, not flotation devices.